Notice: There is no legacy documentation available for this item, so you are seeing the current documentation.
Do you want to add your site to Google Search Console? All in One SEO makes this really easy so you can use their great free tools.
Here we’ll show you how to authenticate your site with Google Search Console.
In This Article
NOTE:
If you’ve already verified your site with Google Search Console then you don’t need to do it again. You only need to verify your site once when you first add it in Google Search Console.
What is Google Search Console?
Google Search Console is a free set of tools and reports that helps you monitor and troubleshoot your site’s presence in search results.
You don’t have to use Google Search Console to be listed in search results, but it really helps you understand how Google sees your site, and it’ll alert you to any problems.
Requirements
Before you get started, you’ll need to have a Google account to use Google Search Console. This can be a Gmail or Google Analytics account, or any other type of Google account.
If this is for your business, you may want to think about having a separate Google account for your business, rather than using your personal account.
Verifying Your Site in Google Search Console
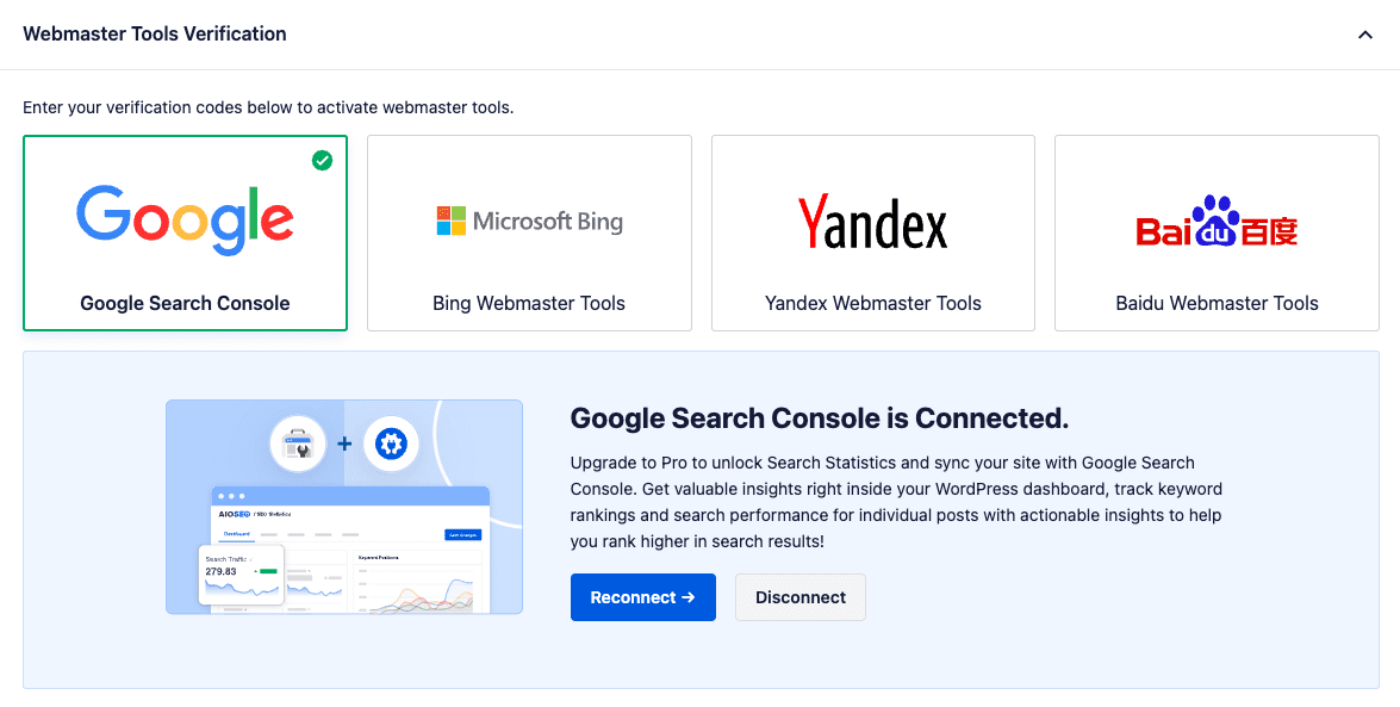
To get started, click on General Settings in the All in One SEO menu, then click on the Webmaster Tools tab.
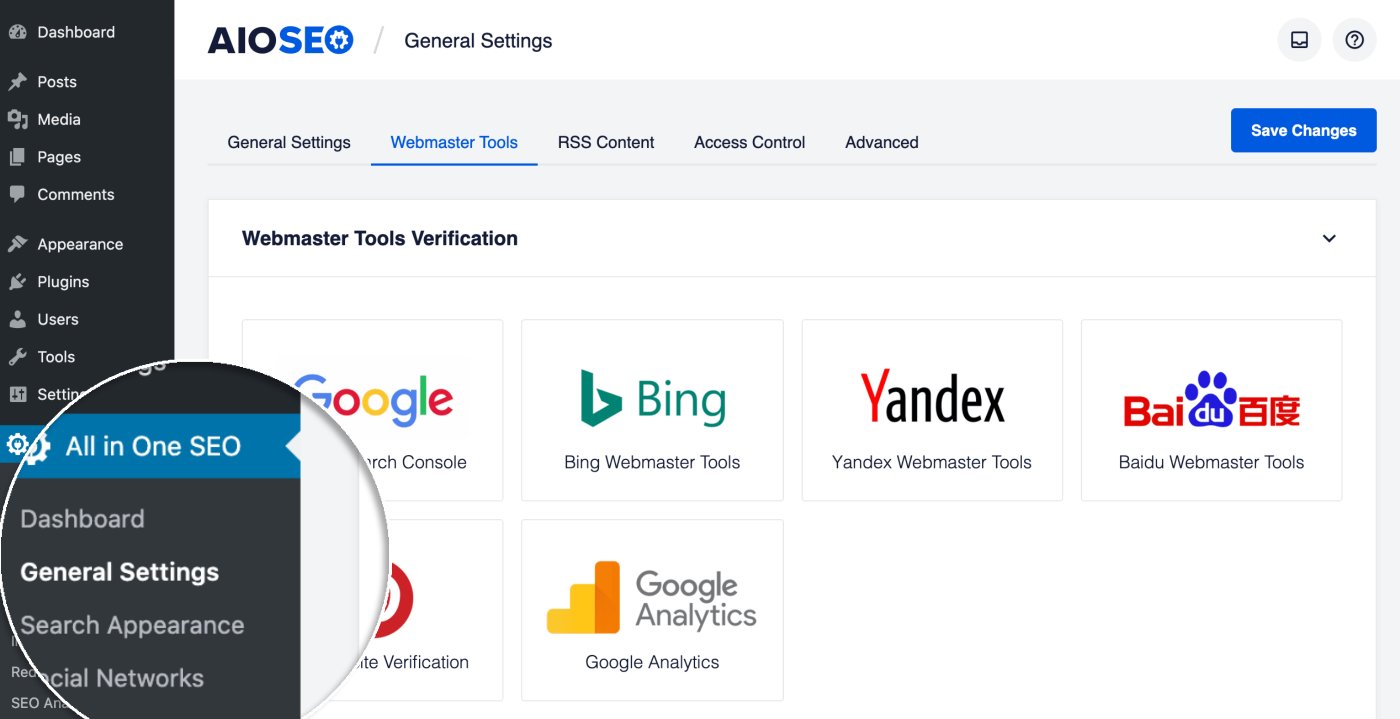
Now click on the Google Search Console block.
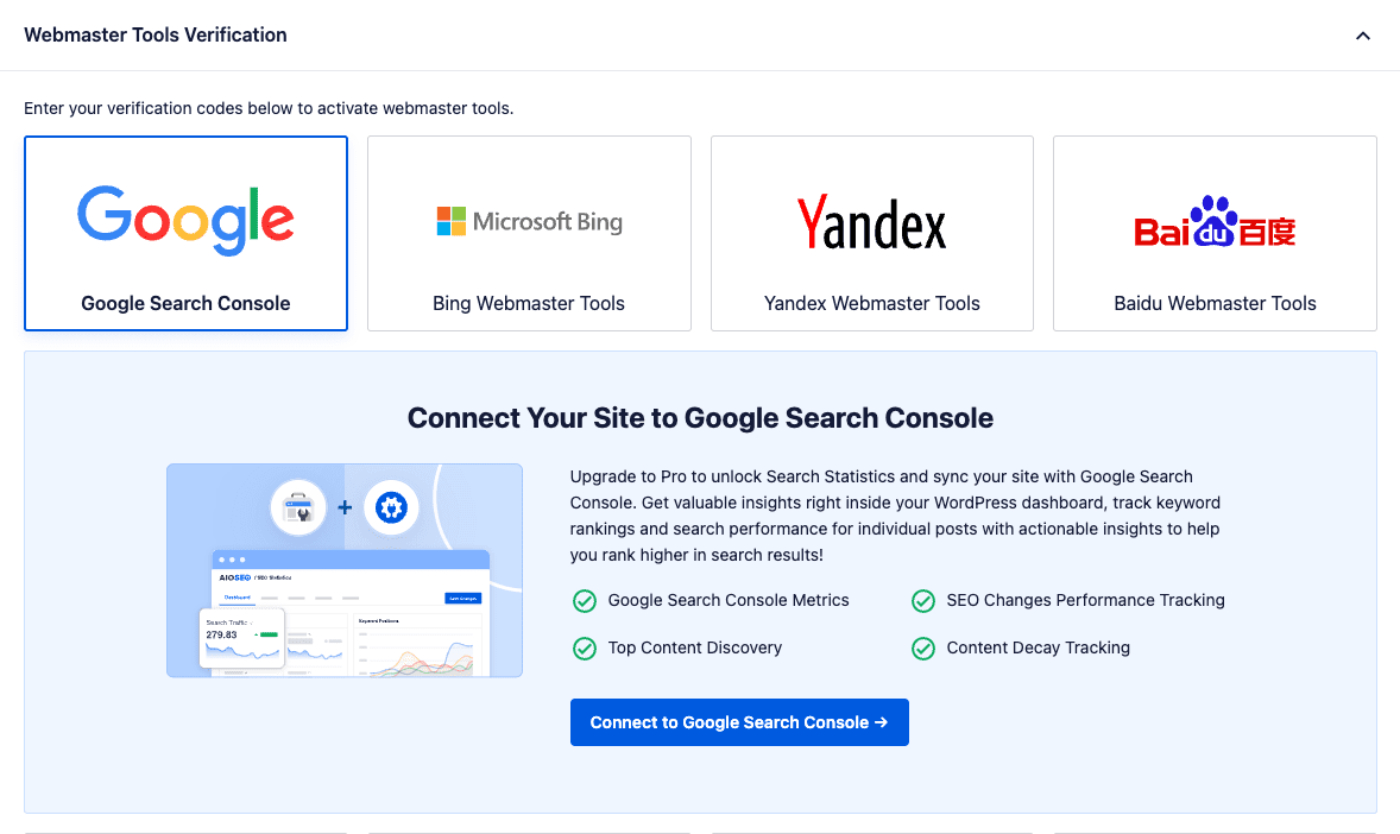
Click on the Connect to Google Search Console button.
NOTE:
You may be prompted to log into your Google account, or select your Google account if you have multiple accounts on Google.
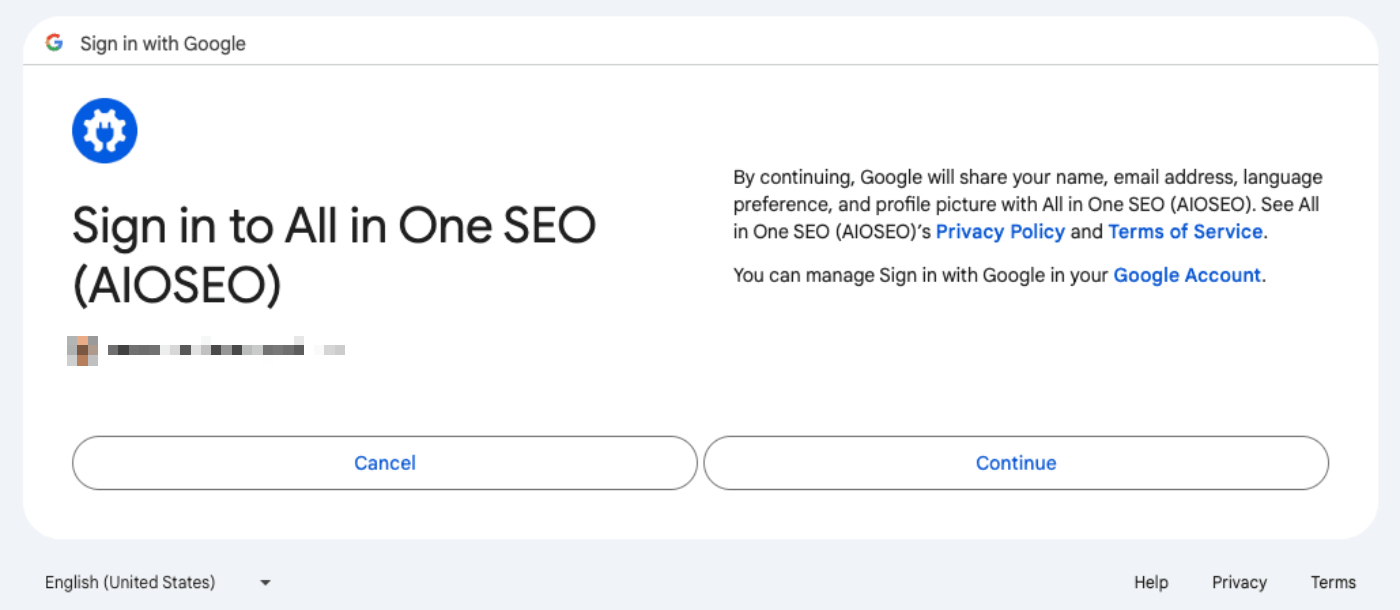
On the Sign in to All in One SEO screen, click the Continue button.
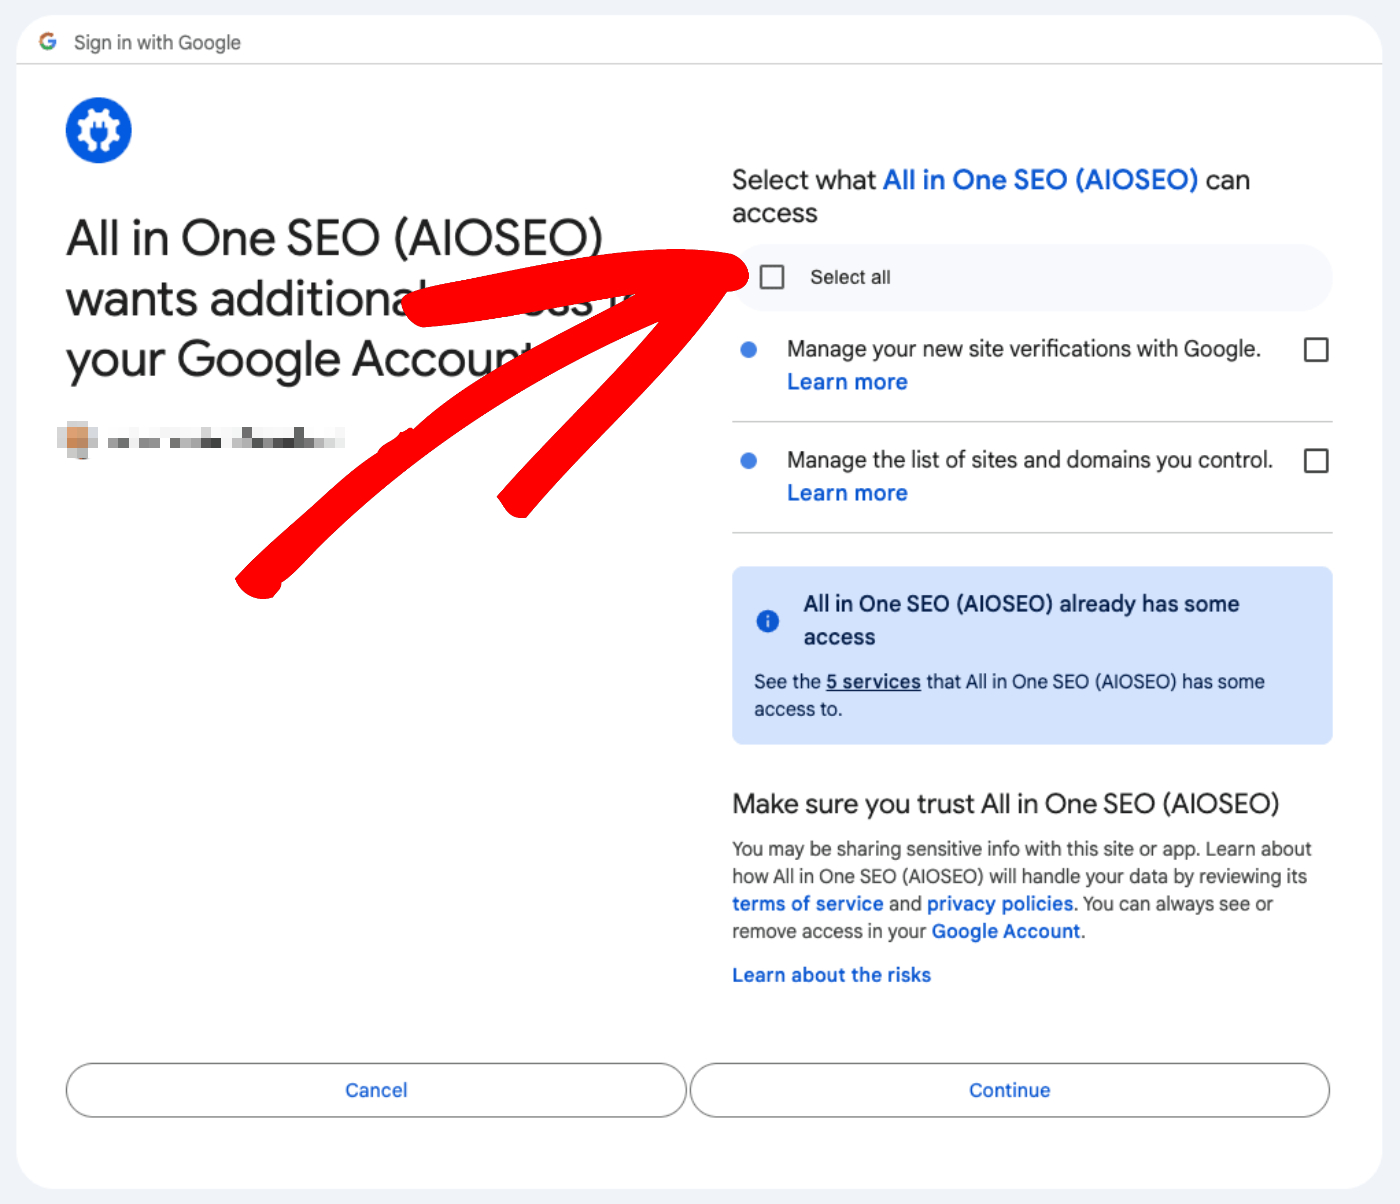
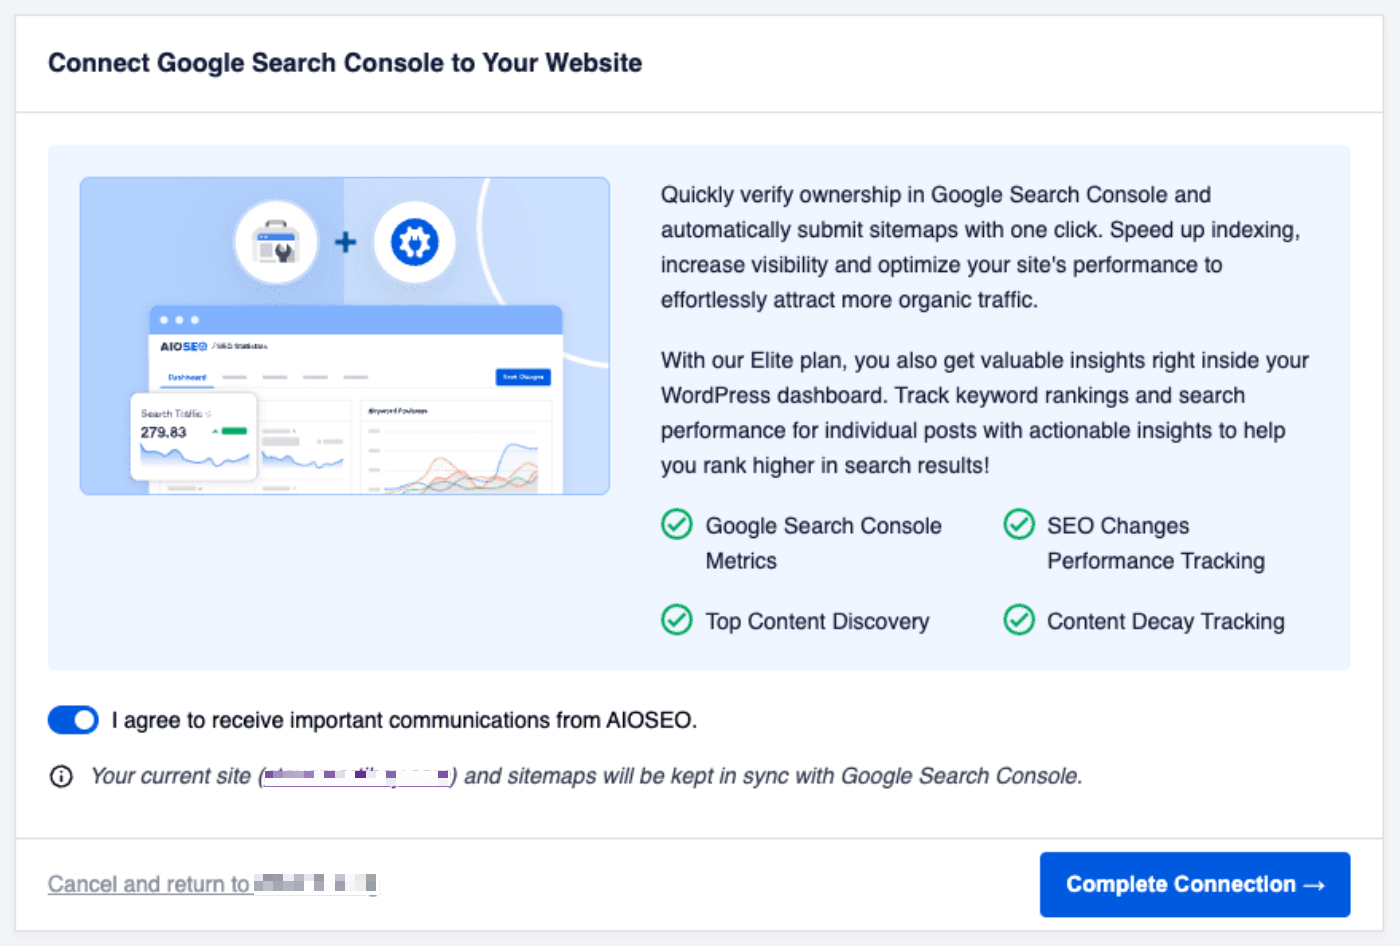
Next, you’ll see a screen where you need to confirm that All in One SEO can access your Google account. This is required in order for All in One SEO to connect to Google Search Console.
Select the Select all checkbox and click the Continue button.
Finally, click the Complete Connection button.
That’s all! Now your site has been added and verified with Google Search Console and your XML Sitemap generated by All in One SEO has been submitted to Google Search Console.
Disconnecting or Reconnecting All in One SEO with Google Search Console
You can disconnect All in One SEO from Google Search Console by clicking on the Disconnect button.
You can reconnect All in One SEO with Google Search Console by clicking on the Reconnect button.
Verifying Your Site With Google Analytics / Google Tag Manager
An alternative way to verify your site with Google Search Console is to use the Google Analytics / Google Tag Manager method.
You’ll need to have added your Google Analytics or Google Tag Manager tracking code to your site.
Not sure how to do this? Check out MonsterInsights which makes this really easy.
Follow these steps to use this method:
Log in to Google Search Console and enter the URL for your site in the URL prefix field.
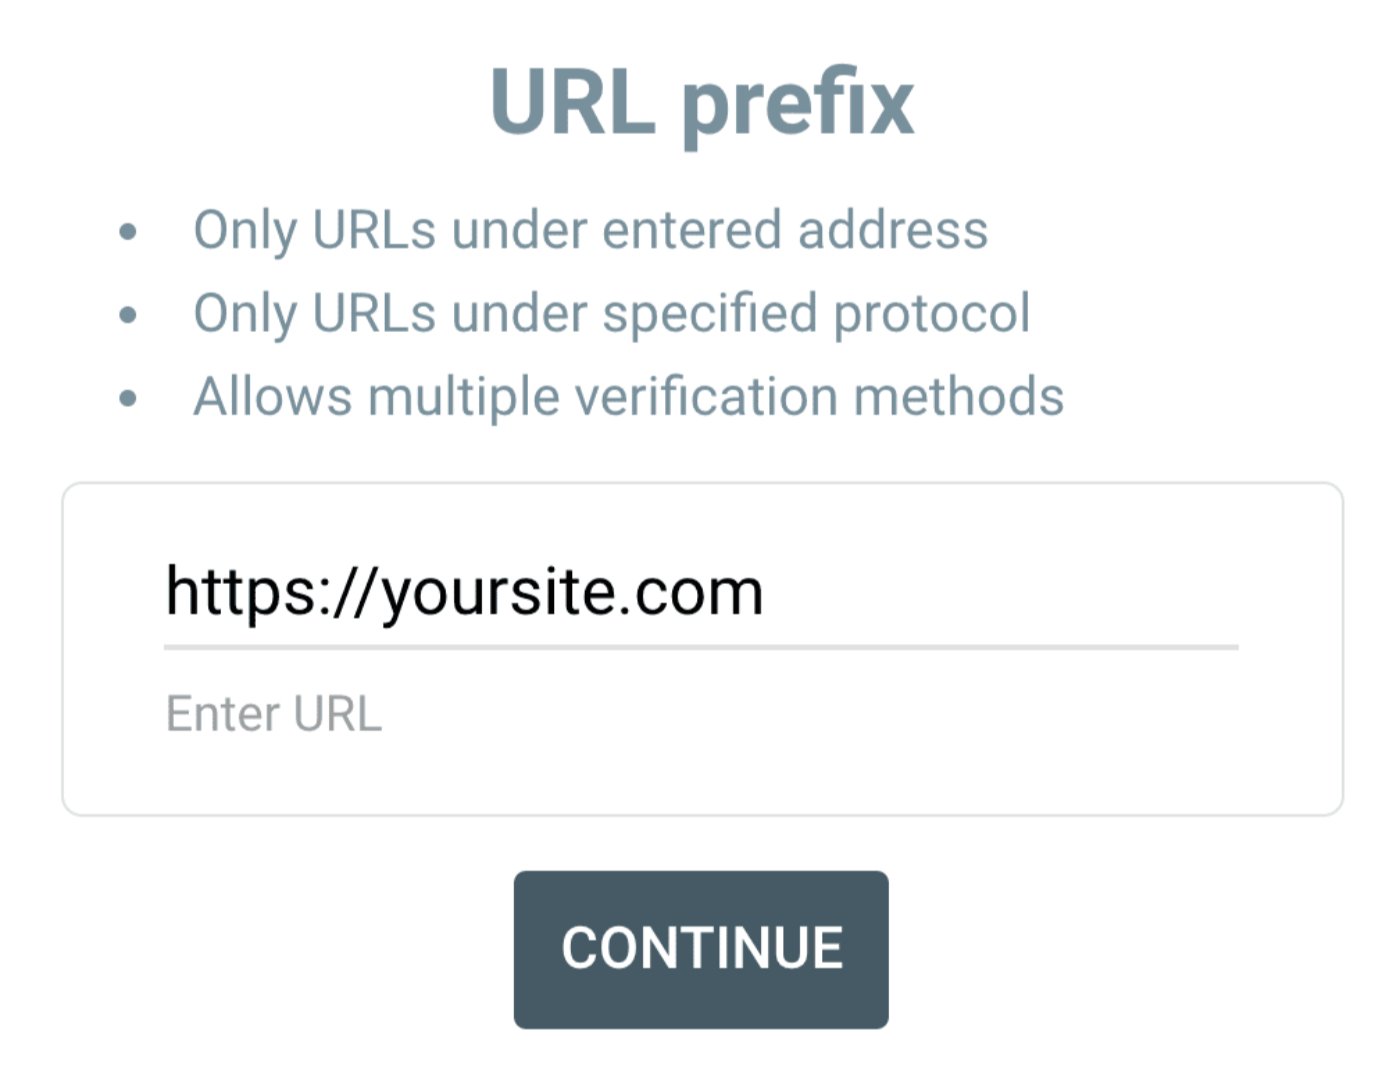
IMPORTANT:
The URL you enter must exactly match the URL for your site. This includes https:// or not and www or not.
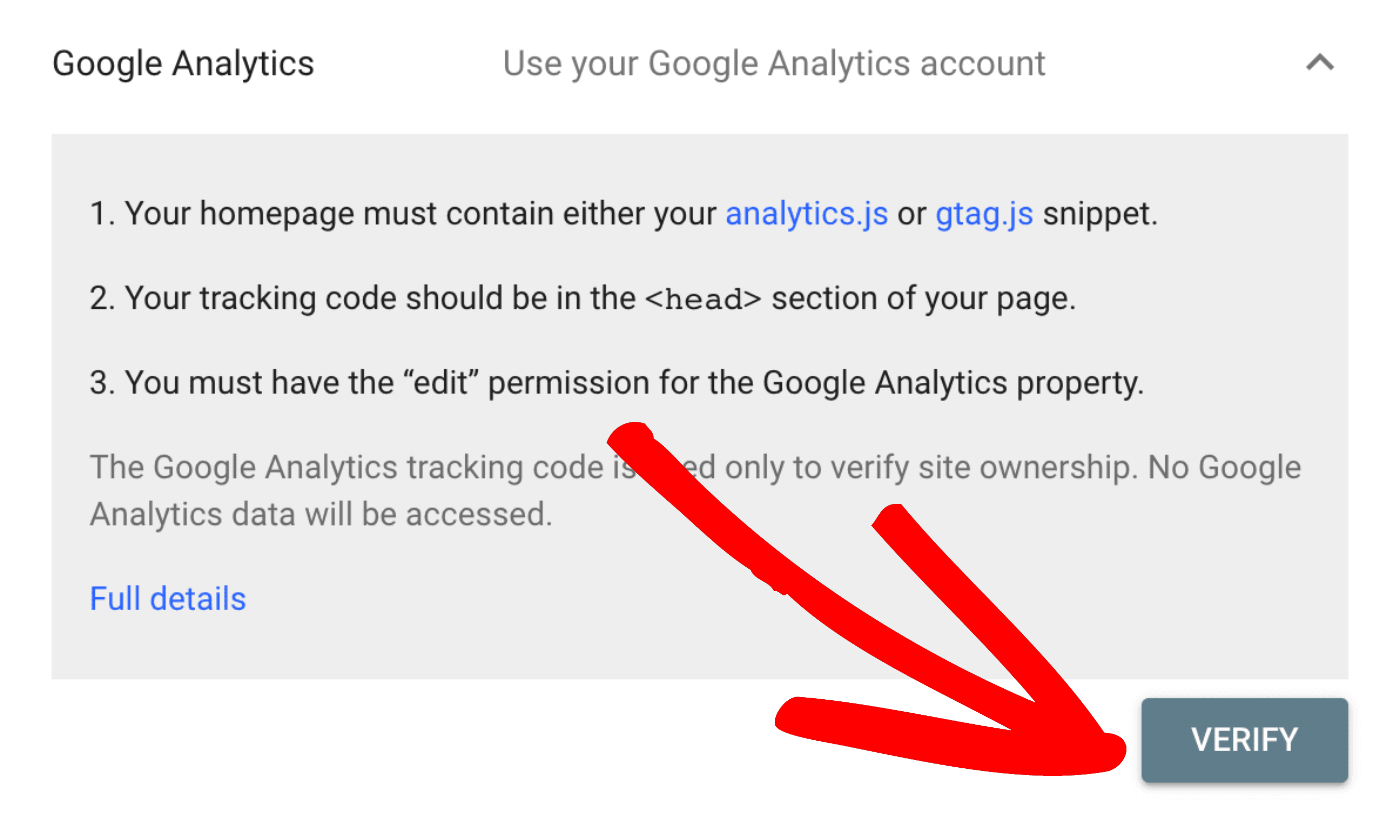
You should now see the Verify ownership screen. You should see the Google Analytics section. Click this to expand that section.
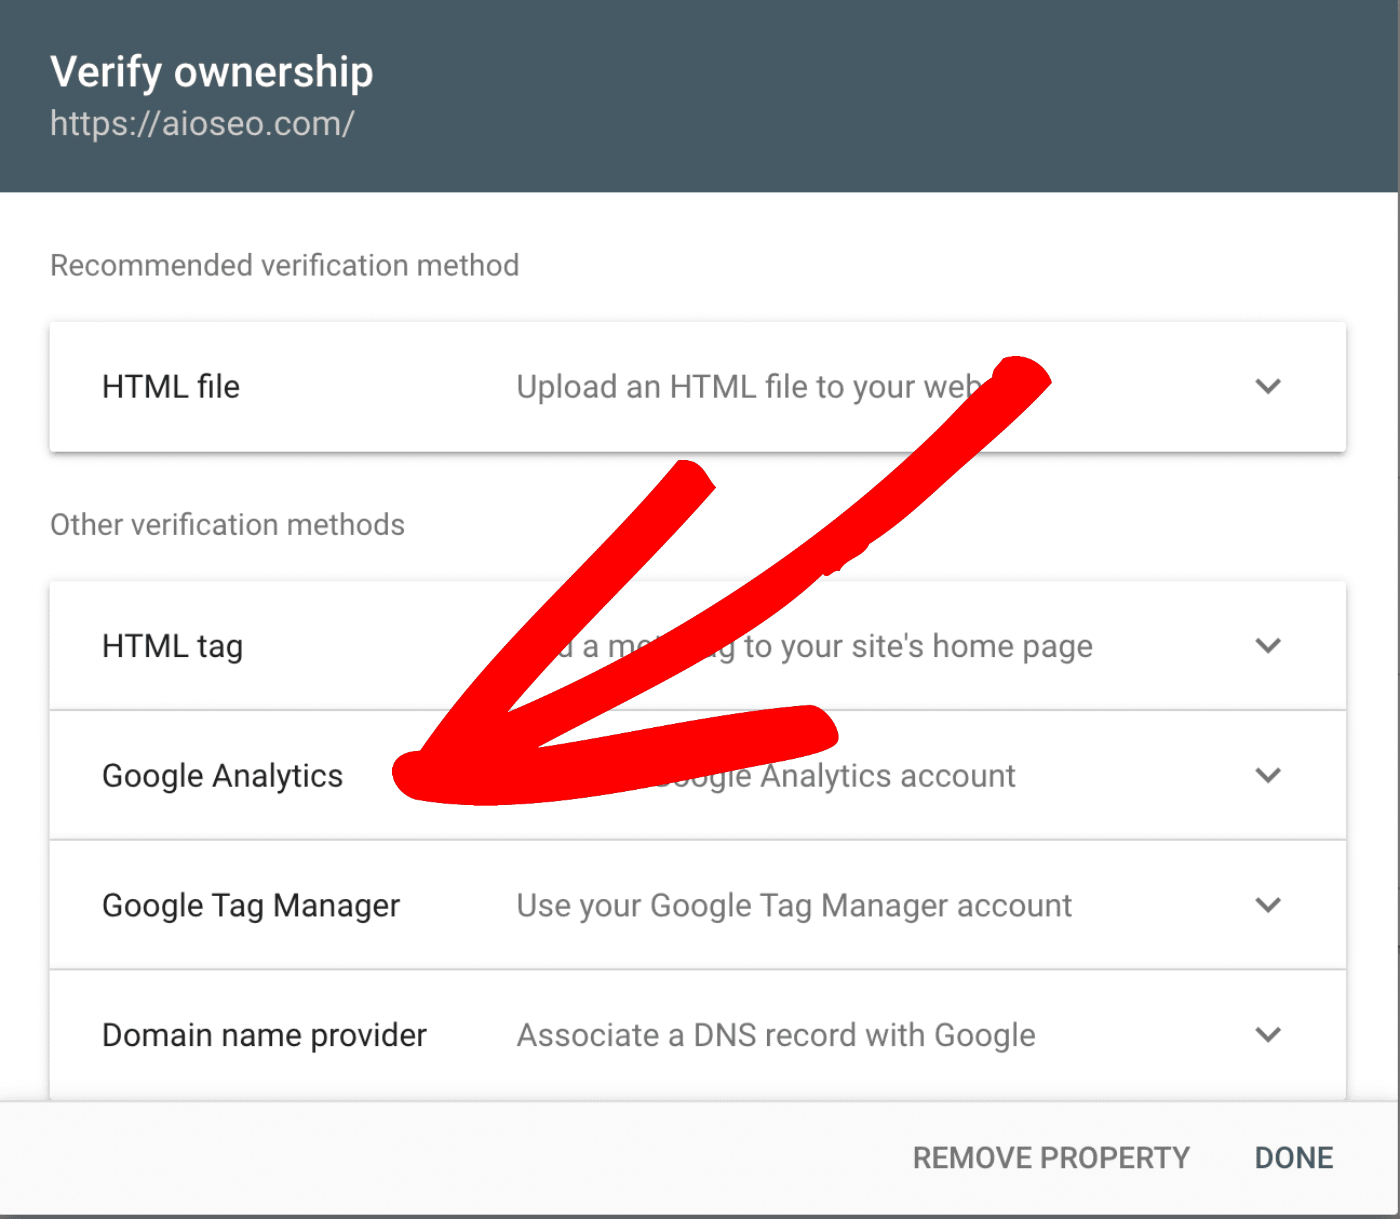
If you use Google Tag Manager, then expand the Google Tag Manager section instead.
Now click the Verify button and you should see the site verified successfully.
Congratulations! You’ve verified your site with Google Search Console!
Are you interested in verifying your site with Bing as well? Visit our article on How to Verify your Site with Bing Webmaster Tools.


