
Do you want to set the Twitter Title, Description, and Image for your content?
If you do, then this article will walk you through the easy-to-follow steps to do this.
The instructions in this article apply to Posts, Pages, Media Attachments, any Custom Post Types, Categories, Tags, and any Custom Taxonomies. We're using the Add New Post screen in the screenshots below.
In This Article
Twitter Settings
To get started, edit your content and scroll down to the AIOSEO Settings and click on the Social tab and then on the Twitter tab.
You should see the Twitter Preview, Use Data from Facebook Tab, Twitter Title, Twitter Description, Image Source, and Twitter card Type settings.
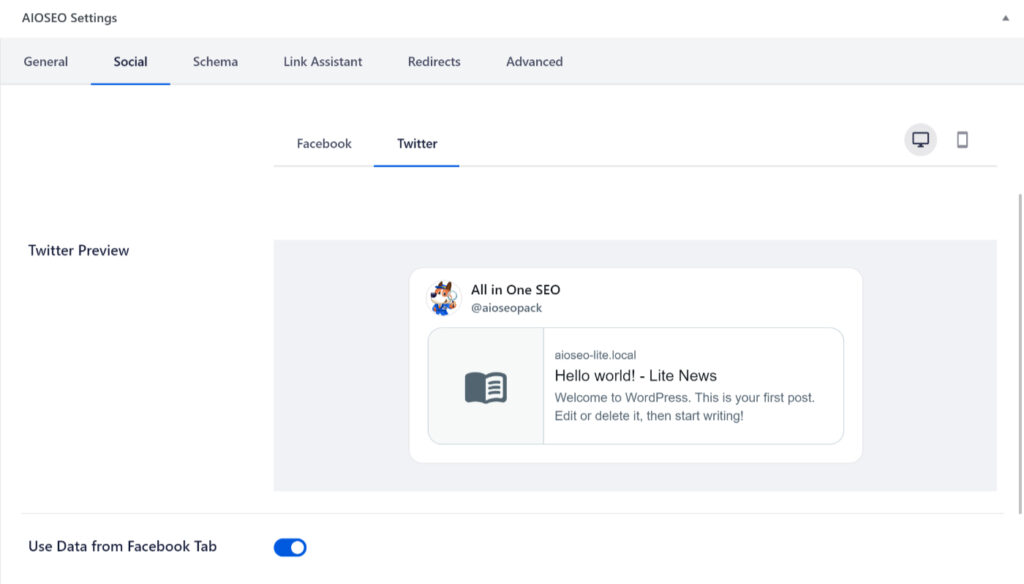
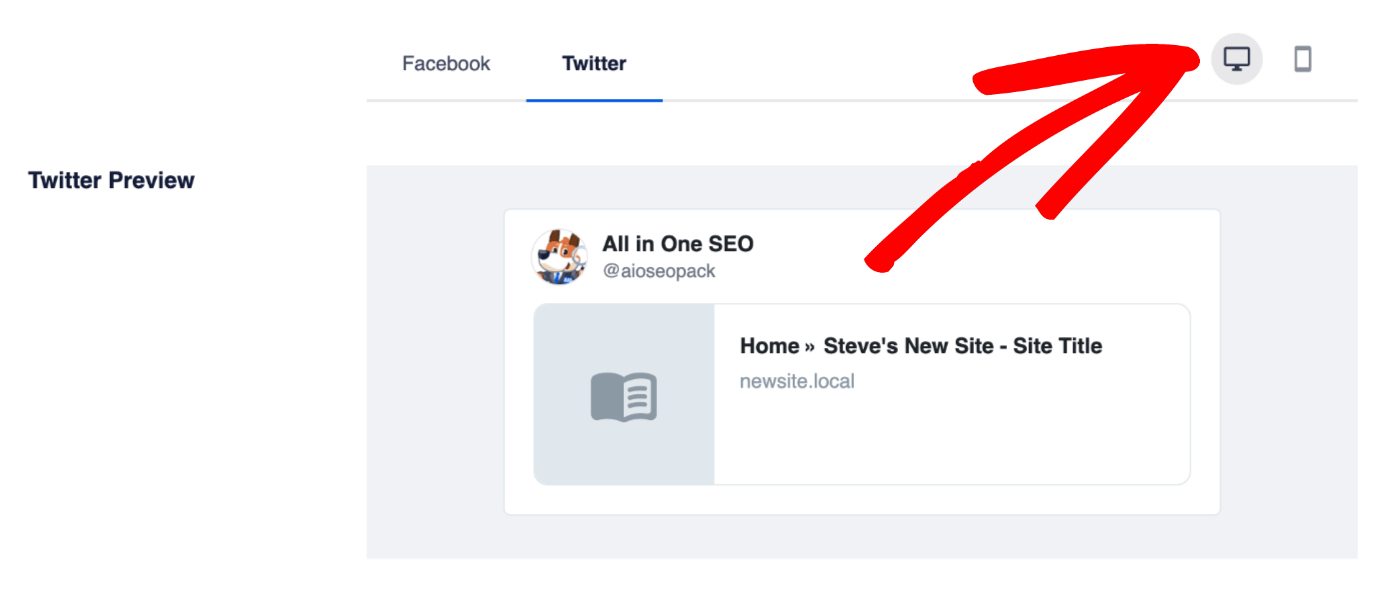
The Twitter Preview shows how your content should look when posted on Twitter based on the Title, Description, Image, and Card Type you set. There are icons in the top right corner to view how it may look on desktop or mobile.
If you want to use the Title, Description, and Image set on the Facebook tab as the Twitter title, description, and image, then enable the Use Data from Facebook Tab setting.

Setting the Twitter Title
To set the title for your homepage, click on one of our smart tags shown above the Twitter Title field.
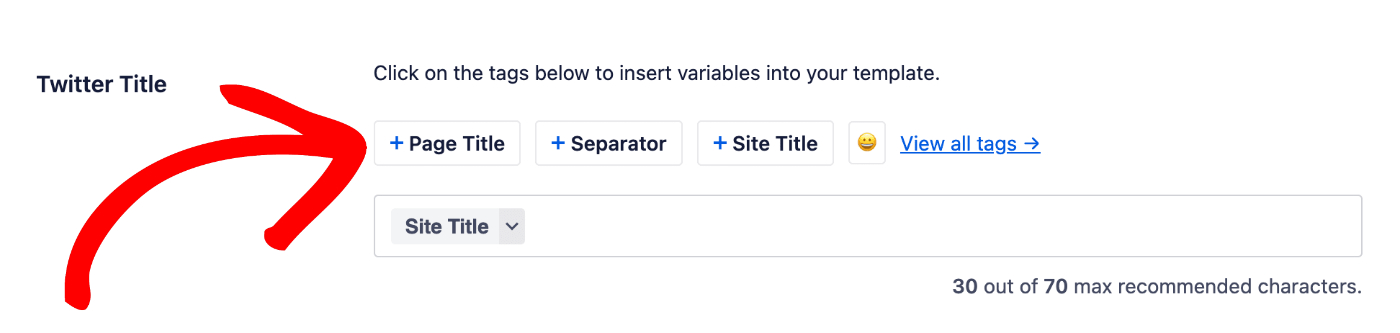
You can also type the hash character ( # ) in the field to display a list of available tags you can choose from.

You can also enter text in the Twitter Title field or combine text with the smart tags and there’s an emoji picker where you can add an emoji.
NOTE:
If you leave the Twitter Title field empty, then All in One SEO will automatically use the Facebook Title if set or the SEO Title entered in the General tab.
Setting the Twitter Description
To set the Twitter description for this content, click on one of our smart tags shown above the Twitter Description field.
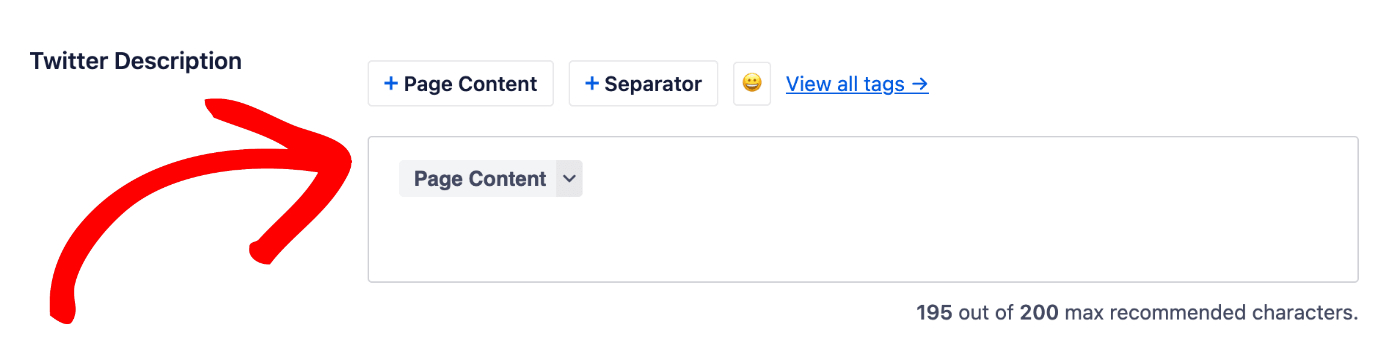
You can also type the hash character ( # ) in the field to display a list of available tags you can choose from.
You can also enter text in the field or combine text with smart tags and there’s an emoji picker where you can add an emoji.
NOTE:
If you leave the Twitter Description field empty, then All in One SEO will automatically use the Facebook Description if set or the Meta Description entered in the General tab.
Setting the Twitter Image
Next, we’re going to set the image.
You can do this using the Image Source setting. Click the drop down to see the available choices.
You can select Custom Image and a Twitter Image setting will be displayed where you can upload an image, select an image from your Media Library or paste the URL for an image.

IMPORTANT:
For the Summary card type, Twitter prefers images that are a minimum of 144 pixels wide by 144 pixels tall, with an aspect ratio of 1:1.
For the Summary with Large Image card type, Twitter prefers images that are a minimum of 300 pixels wide by 157 pixels tall, with an aspect ratio of 2:1.
Full details can be found in Twitter’s documentation here.
Setting the Twitter Card Type
Finally, we’re going to set the Card Type. This affects the appearance of the Tweet and can have a direct impact on click-throughs to your site.
You can use the drop down in the Twitter Card Type setting to choose either Summary or Summary with Large Image. The Preview will change based on your selection.

That’s all! You’ve now set the social meta that Twitter will use when your homepage is shared.