
Do you want to add your site to Microsoft Clarity? All in One SEO makes this really easy so you can use this great free tool.
Here we’ll show you how to authenticate your site with Microsoft Clarity using your Clarity Project ID.
In This Article
Tutorial Video
What is Microsoft Clarity?
Microsoft Clarity is an easy-to-use, cutting-edge behavioral analytics tool that helps you understand how visitors engage with your site. Best of all, Clarity is completely free.
Check out the Clarity site and their FAQs for more information.
Requirements
Before you get started, you'll need to have an account with Microsoft, Google, or Facebook to use Clarity.
If this is for your business, you may want to think about using a separate account for your business, rather than using your personal account.
How to Create a Project in Clarity
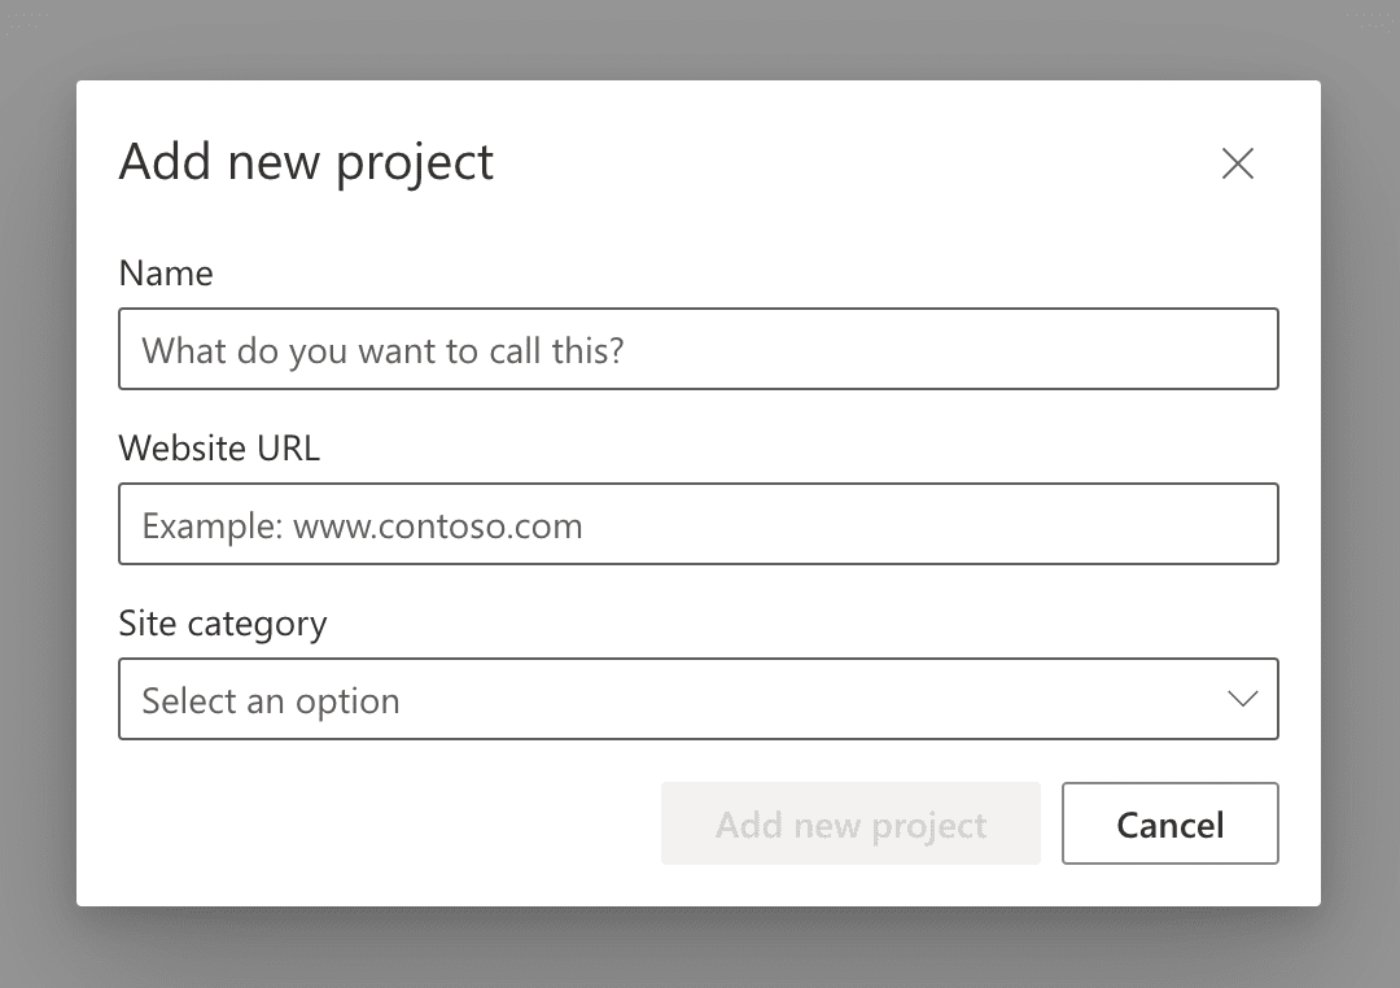
To get started, sign in to Clarity and create a project.
You'll be prompted to enter a name for your project, your website URL, and select a category that describes the purpose of your website.
How to Verify Your Site with Clarity
Once you've created your project, click on the Overview menu item to find your Project ID.
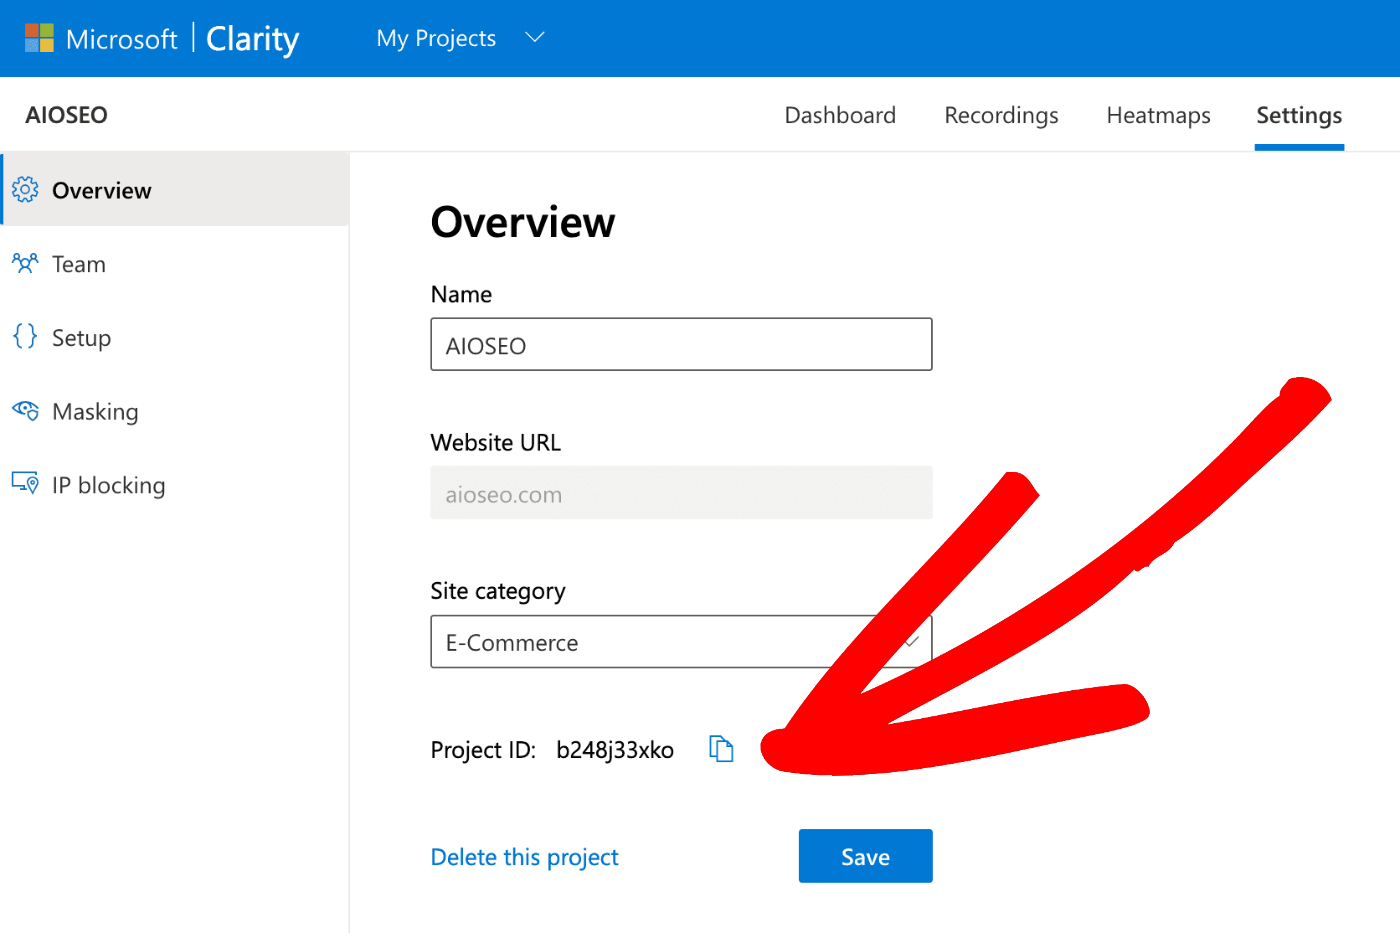
Copy your Project ID and then log into your WordPress site and click on General Settings in the All in One SEO menu.
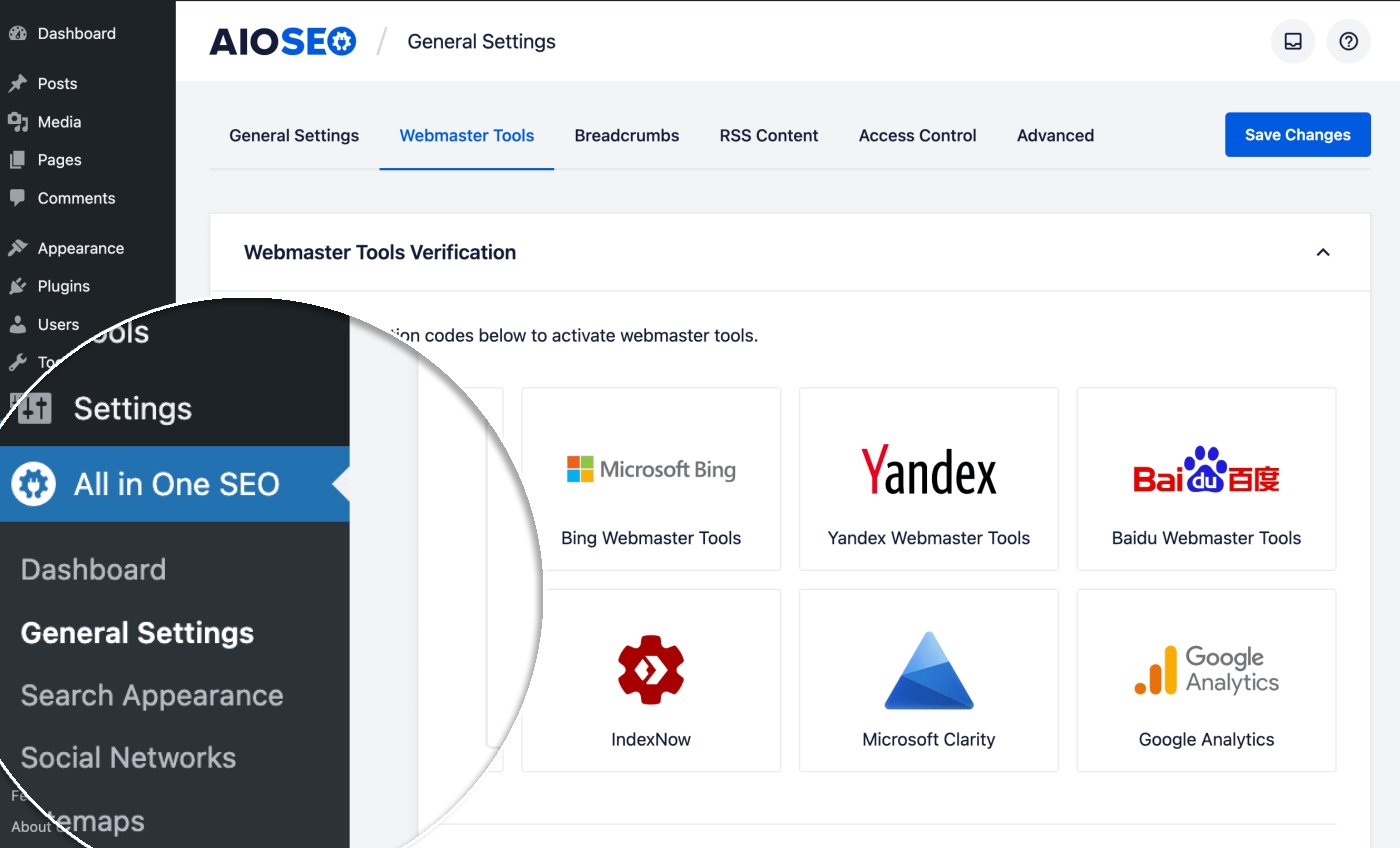
Next, click on the Webmaster Tools tab and then click on the Microsoft Clarity block.

Paste the Project ID you copied into the Clarity Project ID field and click Save Changes.
Congratulations! You’ve verified your site with Microsoft Clarity!