Notice: There is no legacy documentation available for this item, so you are seeing the current documentation.
In order to install All in One SEO Pro on a WordPress.com hosted website, please follow the instructions below to get started. Please be aware that only Business Plan users are able to install custom plugins on WordPress.com.
Before installing All in One SEO Pro on your site you first need to download it to your computer.
Start by logging into our website here – https://aioseo.com/login/.
You should have received a purchase receipt email from us that contains your username and password.
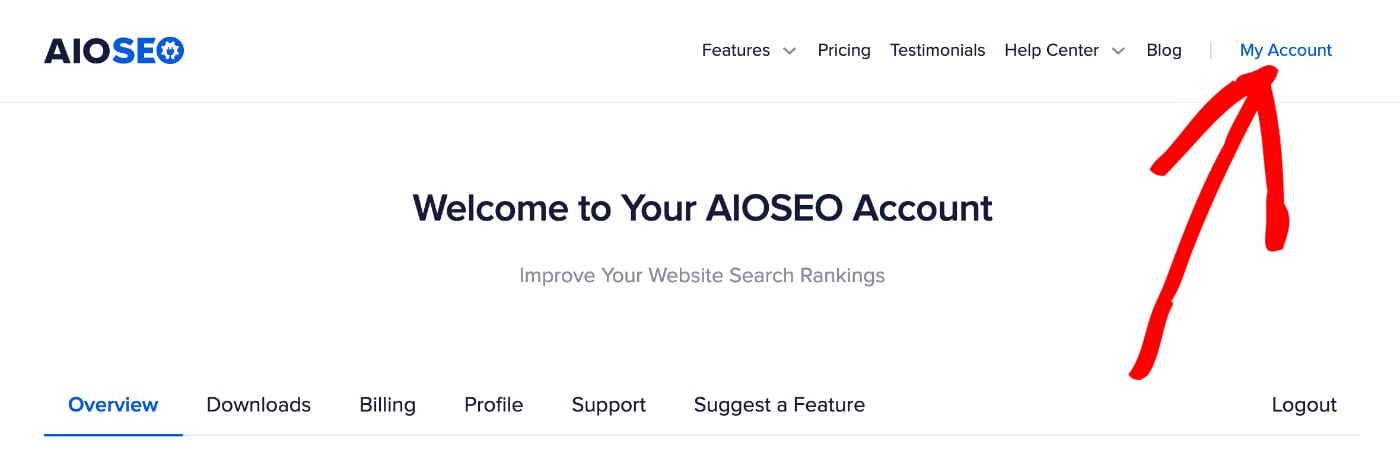
Next, click the My Account link in the top right corner of our site.

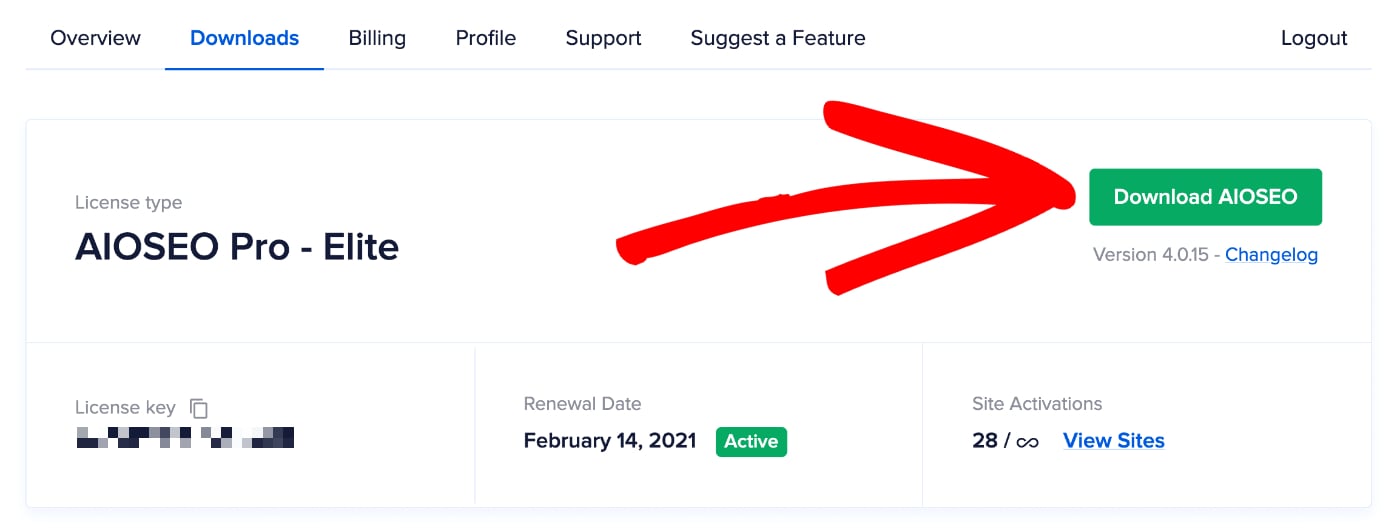
Next, click on the Downloads tab and then click the Download AIOSEO button.

A ZIP file called all-in-one-seo-pro.zip will download to your computer.
IMPORTANT:
If the file gets unzipped when you download it, make sure you check your browser settings to ensure downloads don’t get unzipped and then download the file again. WordPress will not accept an unzipped file.
Now, you need to upload the ZIP file to your WordPress.com site. To do this, log in to your WordPress.com My Site Dashboard and navigate to Plugins in the left-hand menu.
Click on the Upload Plugin button in the top right corner of the screen.
Drag and drop the ‘all-in-one-seo-pro.zip’ file into the designated area or click on the field to navigate to the folder where the plugin file was downloaded to. WordPress.com will now automatically install and activate the plugin for you.
In order to use the plugin, navigate to the WP Admin panel at the bottom of the left-hand menu.
Now the only thing left to do is to enter the license key that you received from us in your purchase receipt email.
That’s it! You’re all done.