Do you want to display a sitemap on your site to help visitors find your content?
All in One SEO makes it really easy to display an HTML Sitemap on your site.
Here we'll show you how to display a sitemap on your site and control what content is included.
In This Article
Tutorial Video
Enabling the HTML Sitemap
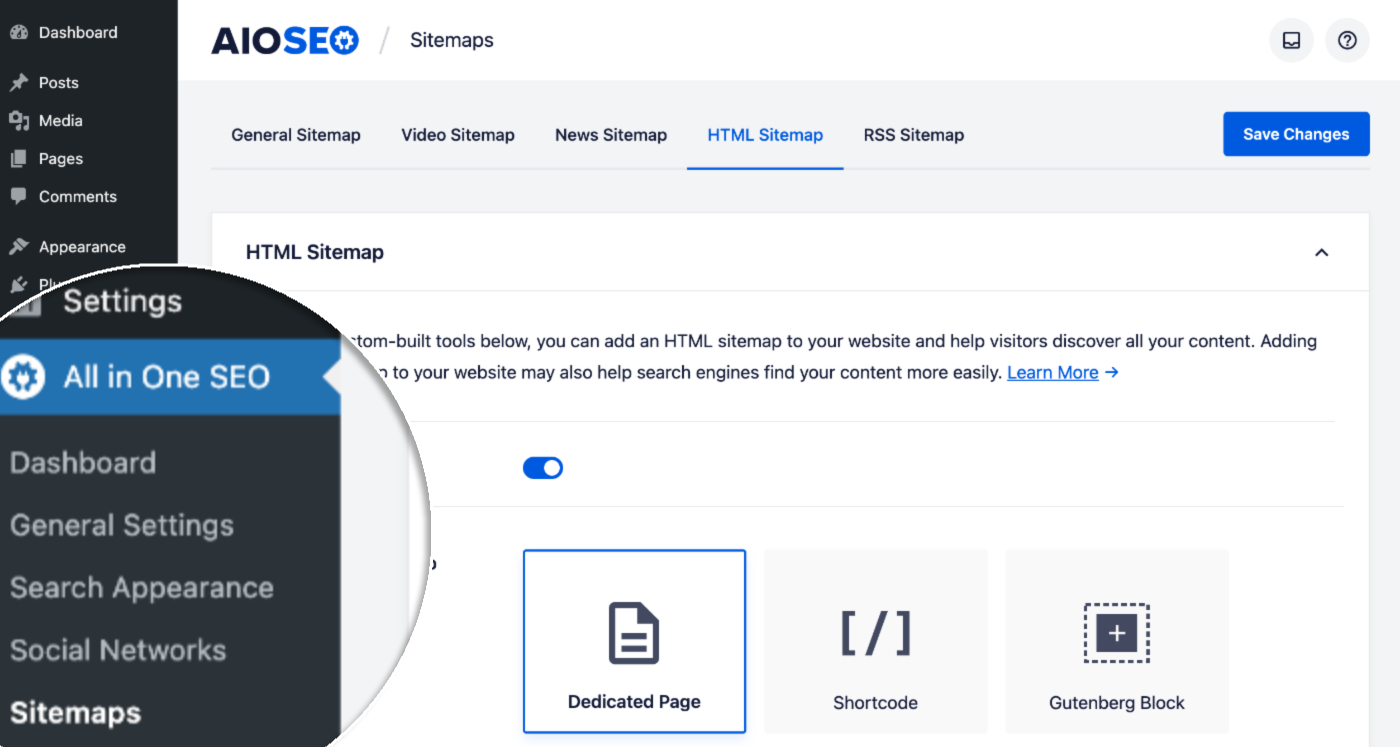
To get started, go to Sitemaps in the All in One SEO menu and then click on the HTML Sitemap tab.
At the top of the screen you'll see the Enable Sitemap toggle which is enabled by default.
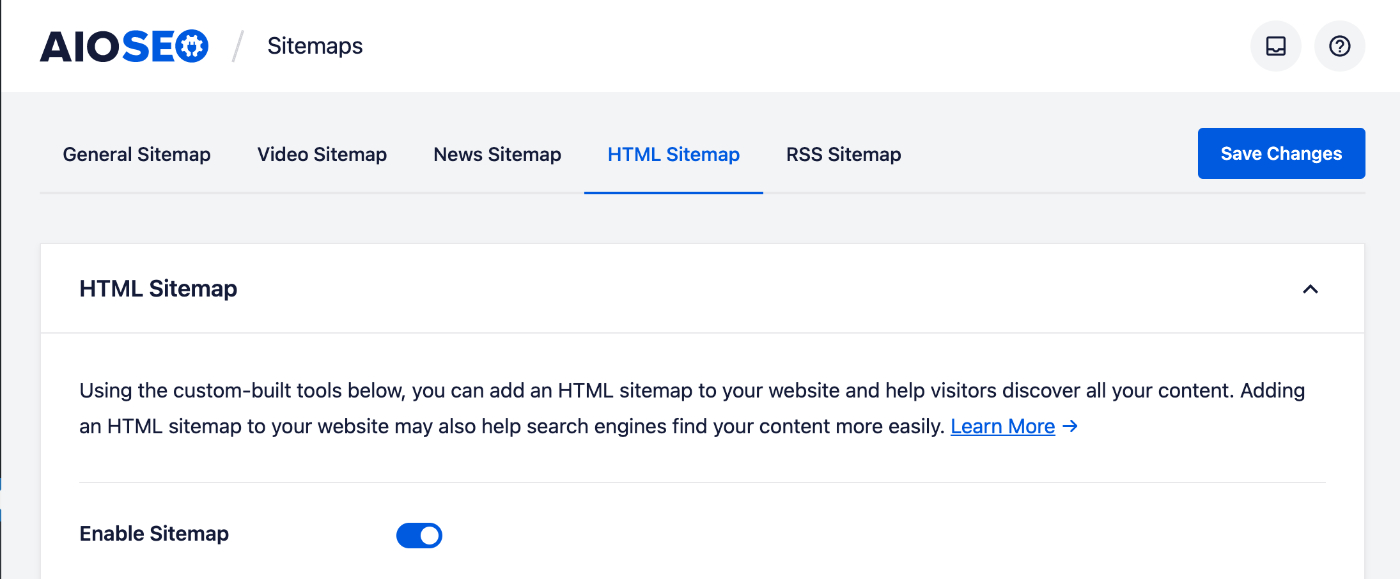
Click the toggle if you want to disable the HTML Sitemap feature.
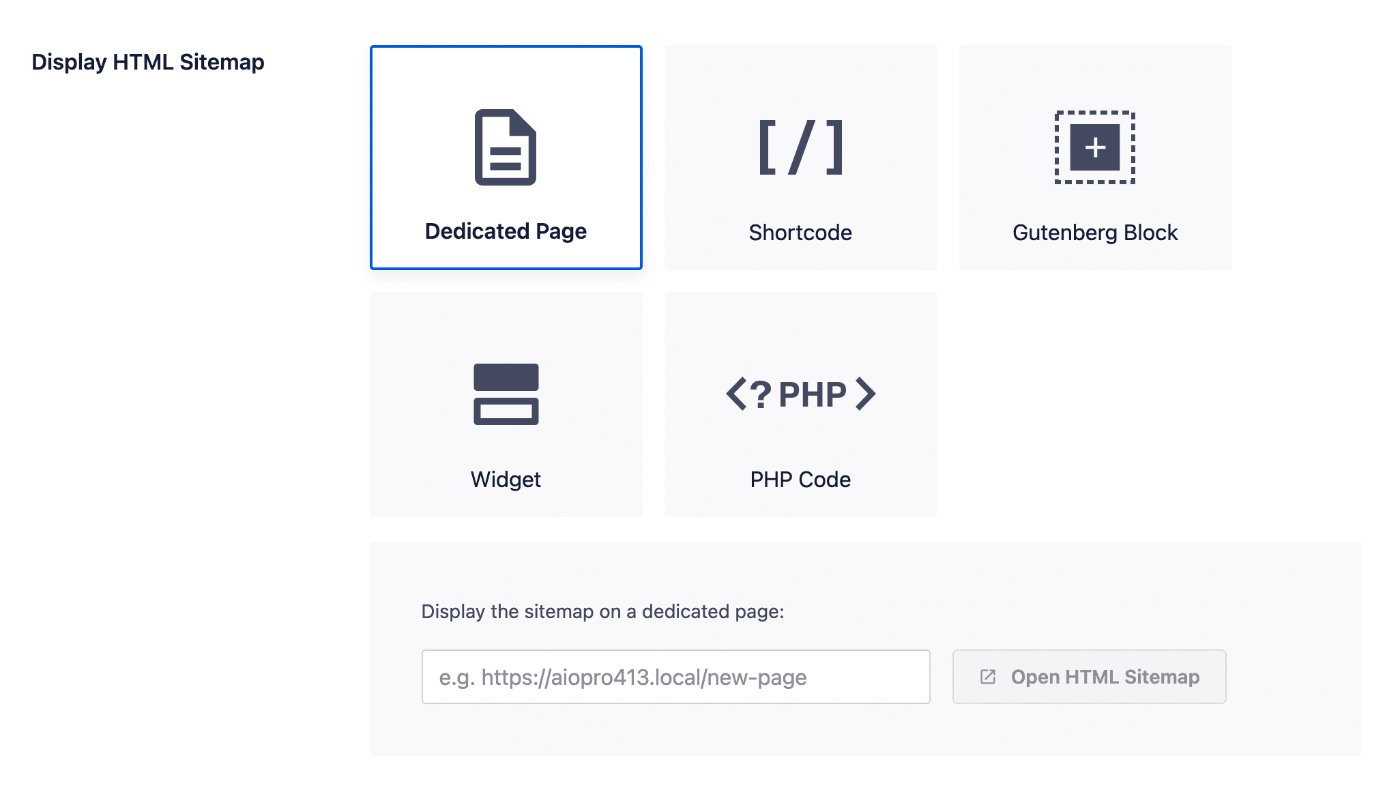
Next, you’ll see the five different ways you can display the HTML Sitemap on your site. You can learn how to use each of these method in the section here.
HTML Sitemap Settings
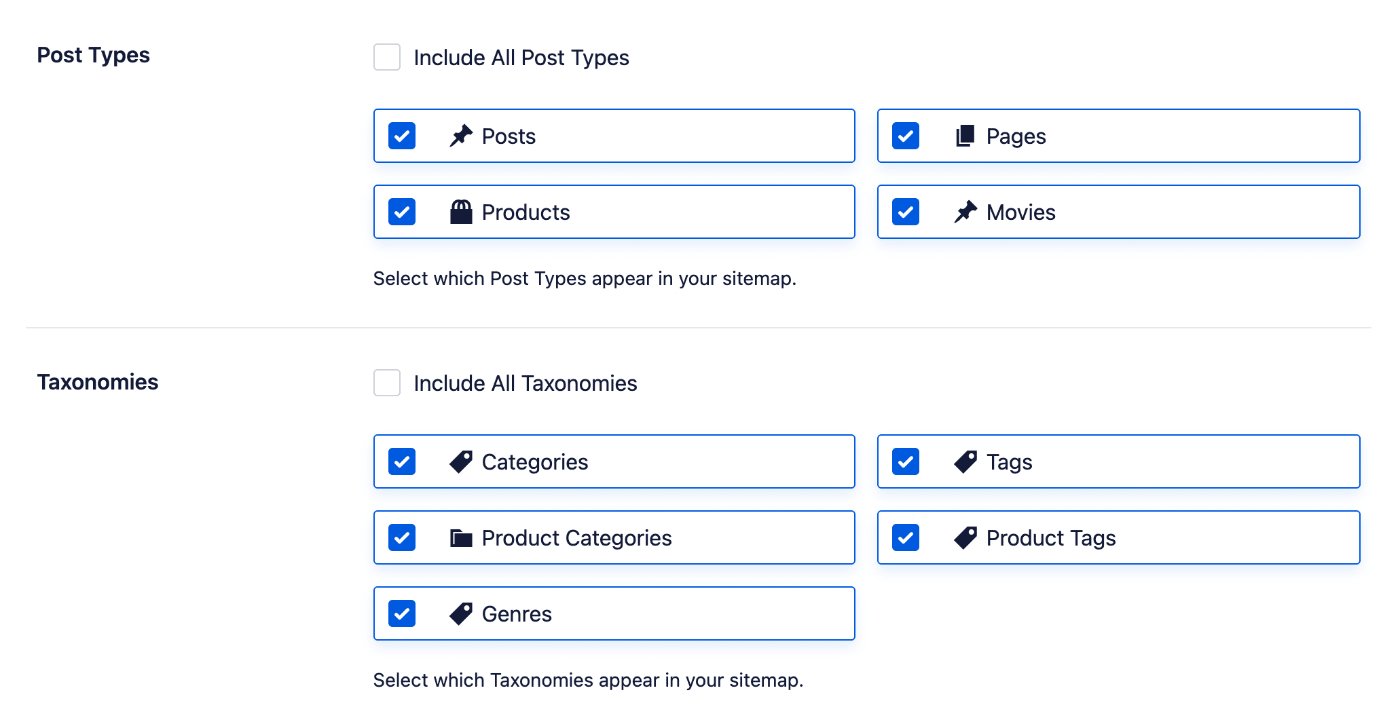
Next, we’re going to decide which content we want to display in our sitemap. There are two settings here, Post Types and Taxonomies.
If you want to include all your content then you can leave the Include All Post Types and Include All Taxonomies check boxes set to checked.
If you uncheck these two check boxes you’ll see a list of all your content post types and taxonomies and can select which to include in your sitemap.
The next two settings are Sort Order and Sort Direction.

These control in what order your content is shown in the sitemap. Here are the choices for Sort Order:
- Publish Date – This will display your content in the order it was published
- Last Updated Date – This will display your content in the order it was last updated
- Alphabetical – This will display your content alphabetical order
- Post / Term ID – This will display your content based on the ID's
The Sort Direction has two choices – Ascending or Descending and these are applied to the Sort Order that's selected.
The Publication Date setting will show or hide the date your content was published next to each content item in the sitemap. This applies to post types only.

The last setting is Compact Archives. This works in conjunction with the WPBeginner Compact Archives plugin so that you can display a compact archive in your HTML Sitemap.

Advanced Settings
When you enable Advanced Settings in the HTML Sitemap settings, you'll see two settings – Exclude Posts / Pages and Exclude Terms.

You can use these fields to exclude content from being displayed in your sitemap.
You can exclude content by typing the ID, title or slug in the field and All in One SEO will display content that matches what you've typed.
For example, if you don't want your Privacy Policy page displayed in your HTML Sitemap, then type the name of the page in the Exclude Posts / Pages field and select the page when you see it listed.
You can exclude content in any post type using the Exclude Posts / Pages field and any taxonomy using the Exclude Terms field.
Displaying the HTML Sitemap on Your Site
There are five ways you can use to display your HTML Sitemap on your site.
You'll find these listed in the Display HTML Sitemap section.

The first option is to use a Dedicated Page.
This will generate a dynamic (virtual) page on your site. Select Dynamic Page in the Display HTML Sitemap section and then enter the name you want for your page in the field below as seen here:
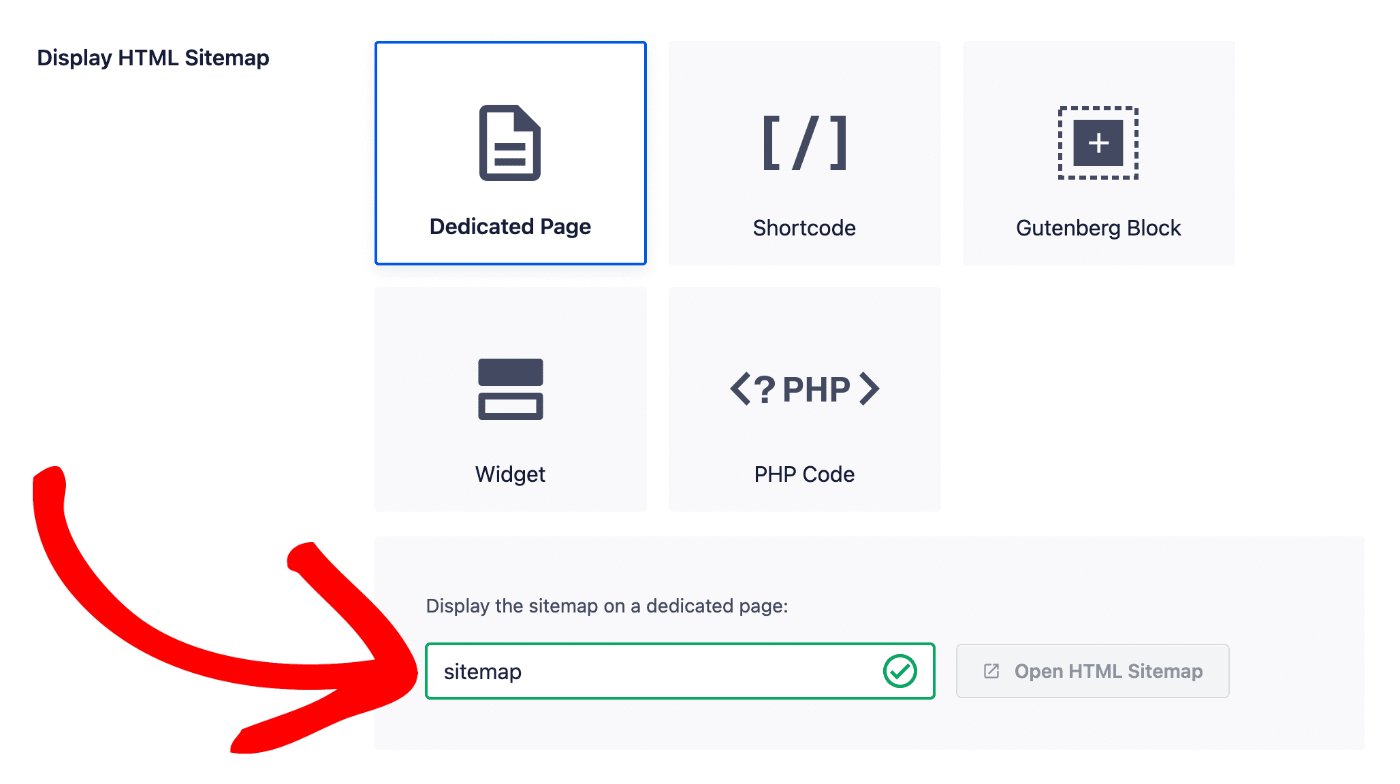
Once you click the Save Changes button, you can click on the Open HTML Sitemap button to view your sitemap page.
The other four options for displaying your HTML Sitemap on your site are:
- Shortcode – Check out our article on how to use the shortcode to display your HTML Sitemap here
- Gutenberg Block – Check out our article on how to use the Gutenberg Block to display your HTML Sitemap here
- Widget – Check out our article on how to use the widget to display your HTML Sitemap here
- PHP Code – Check out our article on how to use the PHP code to display your HTML Sitemap here
That's all! You should now have a sitemap that your visitors can use to find your content.