
Did you know that All in One SEO Pro lets you add Schema markup for articles?
This provides search engines with more detailed information about your news articles or blog posts so that they can display a rich snippet in search results.
IMPORTANT:
You can't force search engines to display search results in a specific way. It happens on a per search basis depending on whether they feel it’s the best way to display the results.
In This Article
Setting the Default Schema Type for all Articles
To set the default Schema Type for your articles, click on Search Appearance in the All in One SEO menu, then click on the Content Types tab.
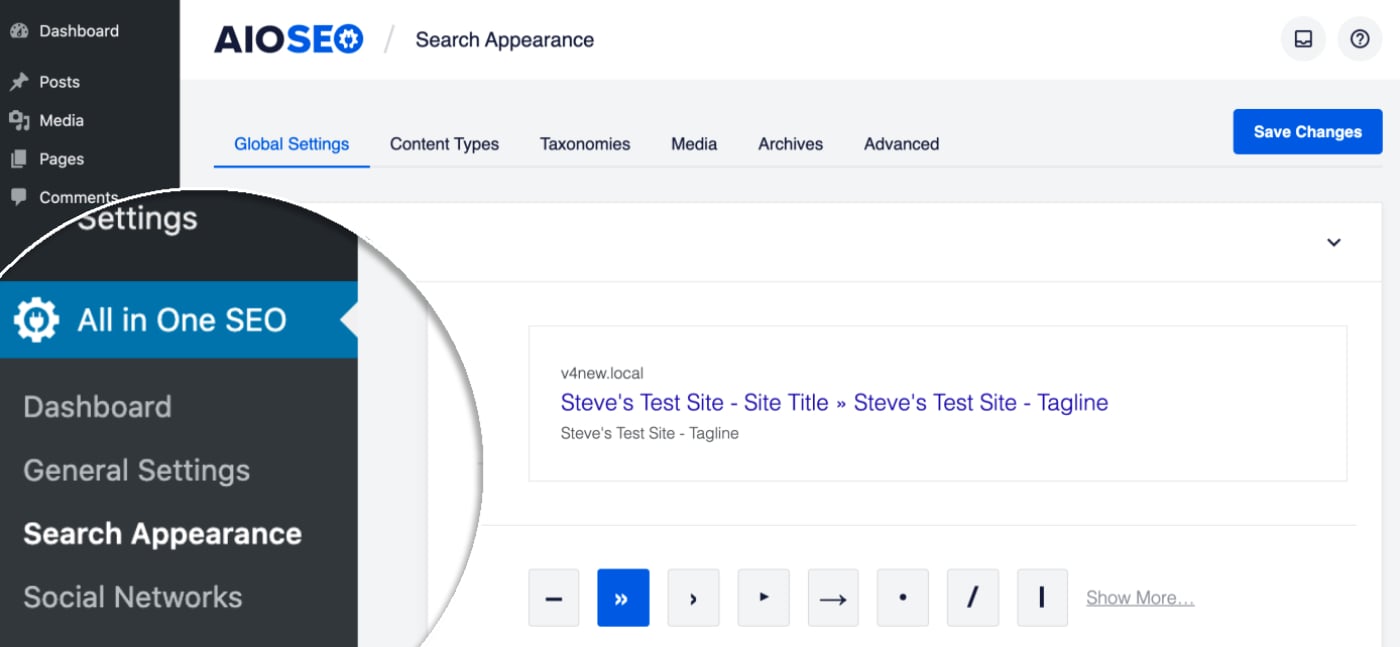
Scroll down to the section for your blog posts or news articles and click on the Schema Markup tab.
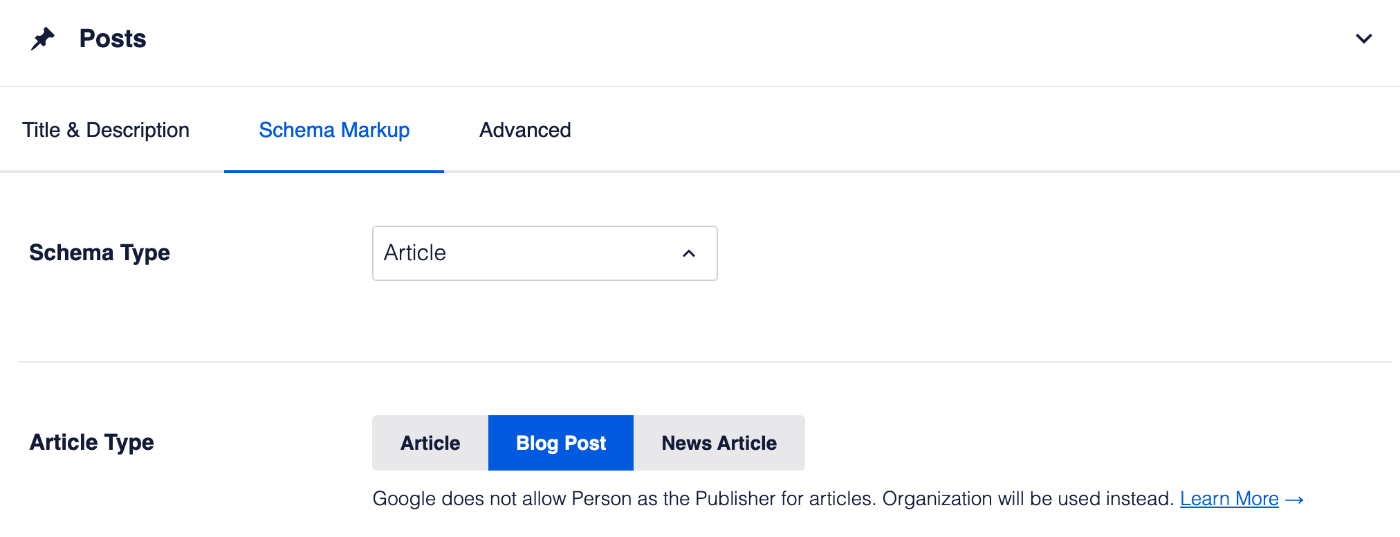
Now select Article in the Schema Type drop down and click the Save Changes button.
In the Article Type setting, select the option that best describes your content.
For more detail on this, please see our article on Configuring Schema Settings here.
NOTE:
Schema Controls for Articles is available to customers with a Basic plan or above for All in One SEO Pro.
Upgrade to All in One SEO Pro today to get Article Schema and many more features!
Setting the Schema Type for Individual Articles
To set the Schema Type for individual content, edit your content and scroll down to the AIOSEO Settings section, then click on the Schema tab.
Now, click the Generate Schema button to open the Schema Generator.

You'll see the Schema Types that are available.
Click the Add Schema icon next to Article to add it.

You can now edit the schema information.
Once done, click the Add Schema button to add the schema to the post.

The Article schema has now been added to the post.
If you would like to edit any of the schema properties or delete the graph, click the Edit Schema or Delete Schema buttons in the graph card.

Configuring the Article Specific Information
When you click on Article as the Schema Type for your content, you'll see a screen with additional fields where you can enter your article information.
NOTE:
The information you set in All in One SEO only appears in the source code of your content. It does not appear as content visible to visitors on your site.
General Settings

Complete the fields as described below:
- Type – Select the type of article. The Blog Post and News Article types are more specific than the generic Article type.
- Name – Enter the title of your article. By default, this is set to your post title. You can use Smart Tags here.
- Headline – Enter the headline of your article. By default, this is set to your post title. You can use Smart Tags here too.
- Description – Enter the description of your article. By default, this is set to your article content. You can use Smart Tags here too.
- Image – Select or upload an image that represents your article. You can also paste in the URL for an image into this field. By default, this is set to your featured image.
- Keywords – Enter one or multiple keywords that describe what your article is about.
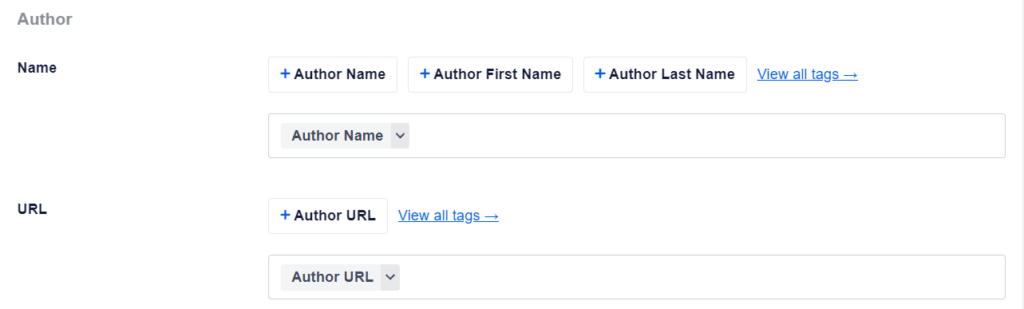
Author Settings
In the Author section, you can enter the name of the author of the article.
You can also enter a URL for the author's dedicated page. If you don't have a page for the author, then you can leave this field blank.
Dates Section
In the Dates section, you can select the article's published and last modified date through the date picker.
If you want to prevent search engines from displaying the article's dates in their search results, then you do so by setting the Include Dates toggle to No.

Once you've completed the fields, click the Add Schema button to save them.
You can also save this as a template which you can use on other articles by clicking the Save Schema as Template button.
You can learn about Schema Templates here.
Additional Information
Check out more documentation on our Schema Settings here.