
Have you ever worried that you might have broken links or images in your content but you don't know how to find them?
Our Broken Link Checker plugin will help you find and fix broken links and images.
In This Article
Getting Started
Broken Link Checker is a free plugin for WordPress that scans for broken links and images in your content.
Tutorial Video
Check out our tutorial video on how to use our Broken Link Checker plugin:
IMPORTANT:
Broken Link Checker currently works best with the WordPress Block Editor.
Broken Link Checker can detect broken links in content created using our supported page builders. However, it currently can't edit or unlink links in page builders.
Full support for page builders will be added in future releases.
Installing Broken Link Checker
To get started, log into your site and go to Plugins > Add New, then search for “Broken Link Checker”.
You'll see Broken Link Checker by AIOSEO as one of the results as shown below:
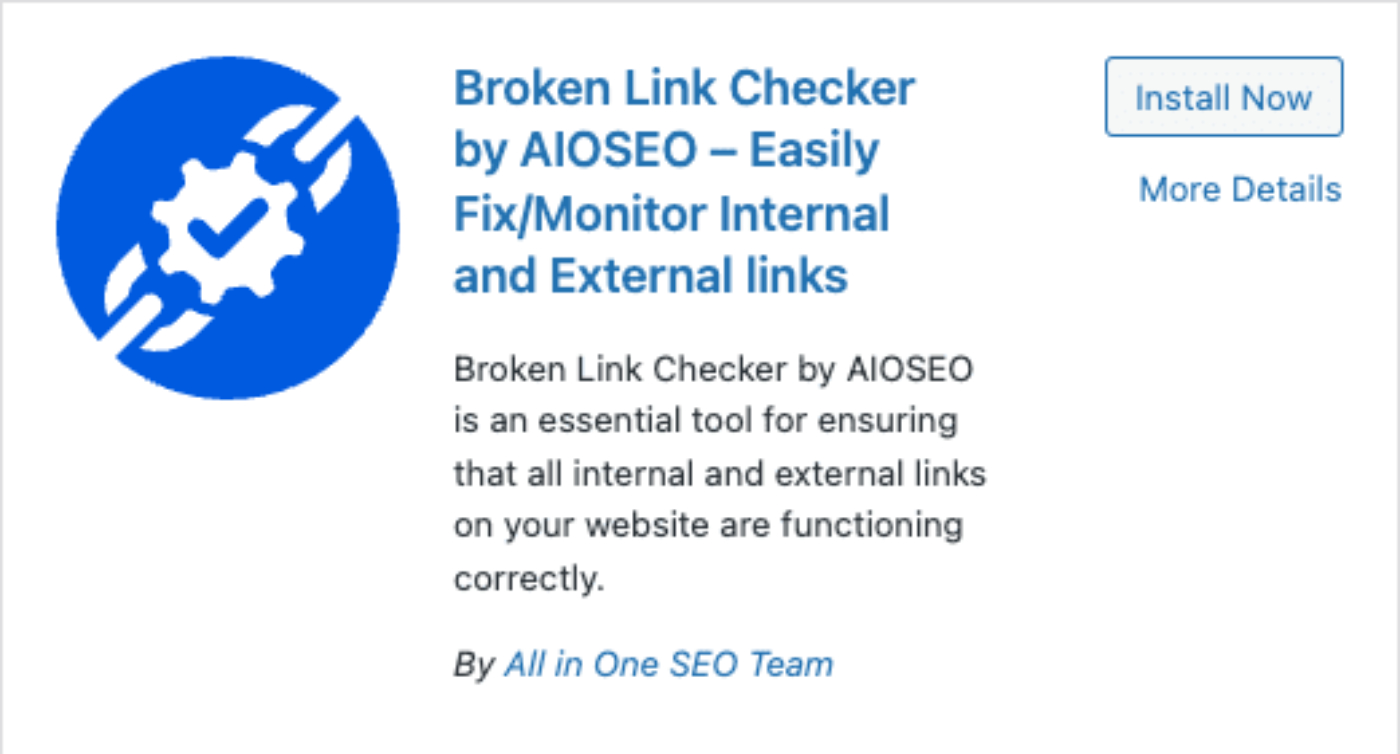
Click the Install Now button to install the plugin, then the Activate button to activate it.
Once activated, you'll see a new menu item for Broken Links in the WordPress menu as shown below:
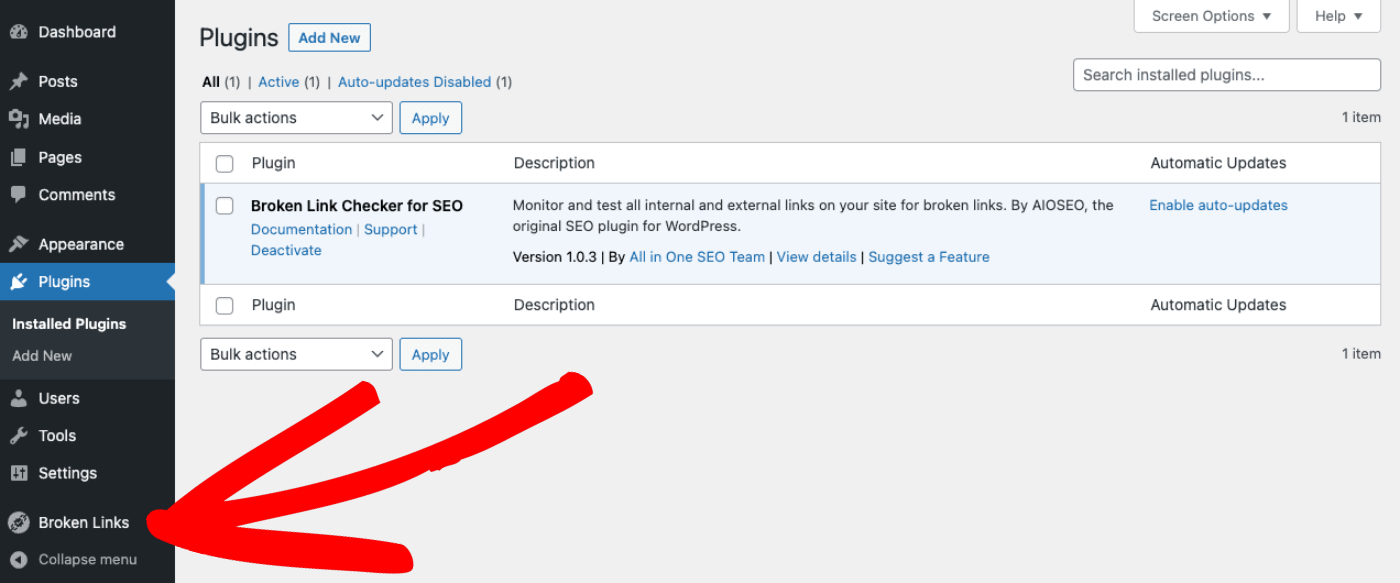
Click on the Broken Links menu to go to the Broken Link Checker Settings tab.
Creating a Free Account
NOTE:
If you already have an account for All in One SEO Pro, then you can connect to your existing account.
You will still need to add a new free or paid plan for Broken Link Checker to your existing account, as it is a separate, standalone product.
See the steps below under Connecting to an Existing Account for details.
You'll need to create a free account to use Broken Link Checker. To do this, click on the Create a Free Account button.

You'll see a Create an Account popup that will have fields for you to complete to create your free account.

Once you've completed the fields, click the Create Account button.
You'll now be prompted to create a password for your account and enter payment information.

IMPORTANT:
Broken Link Checker is a free plugin that includes scanning of 250 internal and external links per month.
If you have more than 250 internal and external links, then you'll automatically be upgraded to one of our monthly paid subscriptions so that we can check all of your links and images.
You can learn about our paid subscriptions and their features on our Pricing page here.
Once you've completed the Create an Account form, you'll be returned to the Settings screen in Broken Link Checker where it now says “Your account is connected” and “You have a total quota of 250 links (250 remaining), which renews on xx/xx/xxxx“.

Connecting to an Existing Account
If you already have an account for All in One SEO Pro or Broken Link Checker then click on the Connect to an Existing Account button.

You'll see a login screen where you can log into your existing account on aioseo.com.

Enter the Email Address and Password for your account and click the Log In button.
You'll see an Account Info screen that will have fields with your account information displayed.

Verify that the information is correct and click the Create Account button.
You'll now be prompted to enter payment information.

If you already have a payment method saved in your account then you can select it, or enter new card details, or pay with PayPal.
Once you've completed the Payment Method form, you'll be returned to the Settings screen in Broken Link Checker, where it now says “Your account is connected” and “You have a total quota of 250 links, which renews on xx/xx/xxxx“.
Upgrading to a Paid Subscription
If you need to scan more than 250 links per month, then you can upgrade to one of our paid subscriptions which come with a higher number of links per month, checking of external links, and support from us when you need help.
You can find full details of our paid subscriptions on our Pricing page here.
To upgrade, click on the upgrading to Pro link shown on the Settings screen in Broken Link Checker.

You'll see the Pricing page for Broken Link Checker where you can select the license level you want.
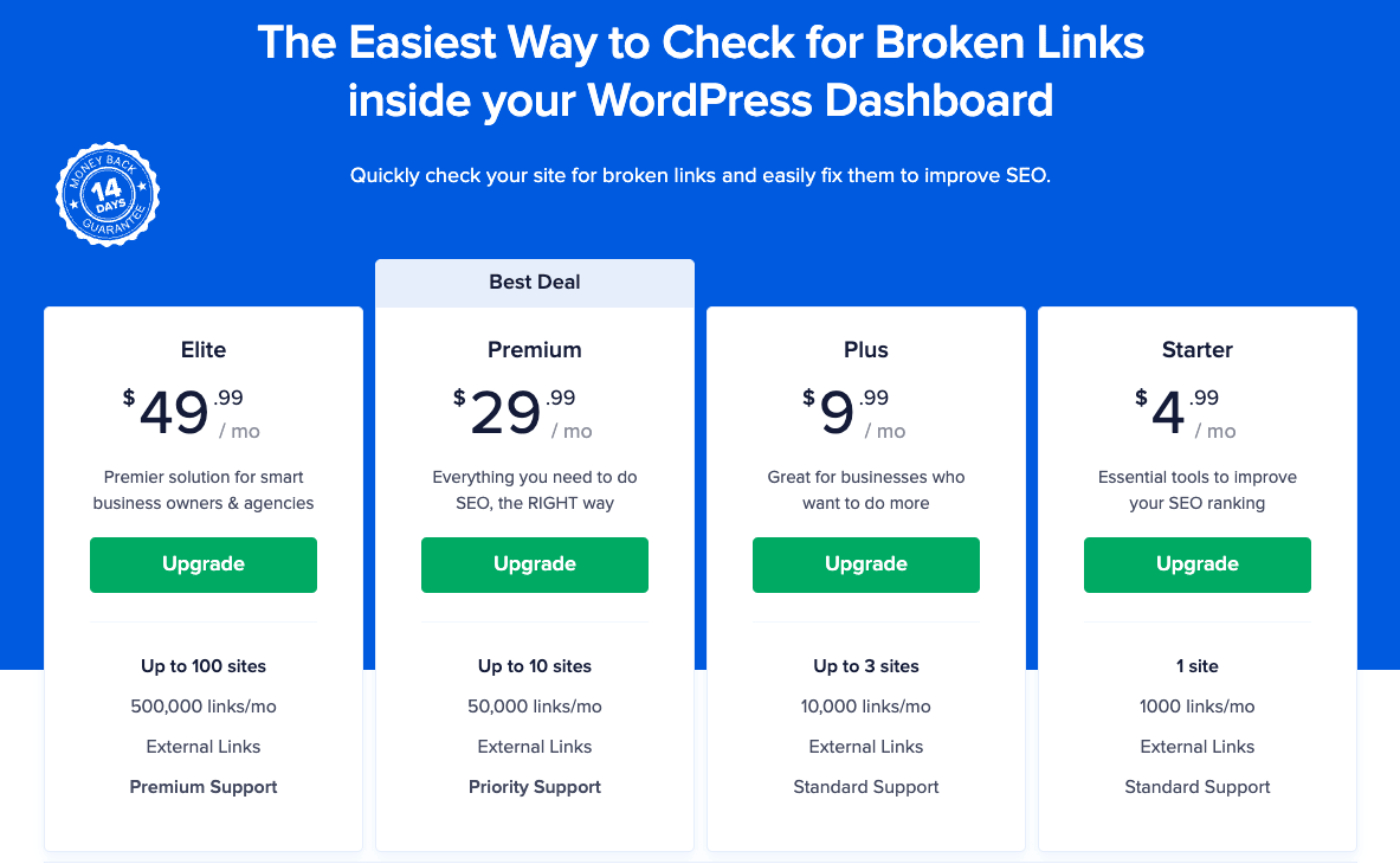
Click the Upgrade button for the license level you want.
You'll now be prompted to enter payment information.

If you already have a payment method saved in your account, then you can select it, or enter new card details, or pay with PayPal.
Once you've completed the Payment Method form, you'll be returned to the Settings screen in Broken Link Checker, where it now says, “Your account is connected” and “You have a total quota of xxx links (xxx remaining), which renews on xx/x/xxxx“.

Checking for Broken Links and Images
Broken Link Checker automatically scans for broken links and images each day. When it finds a broken link or image, you'll see it listed on the Broken Links tab.
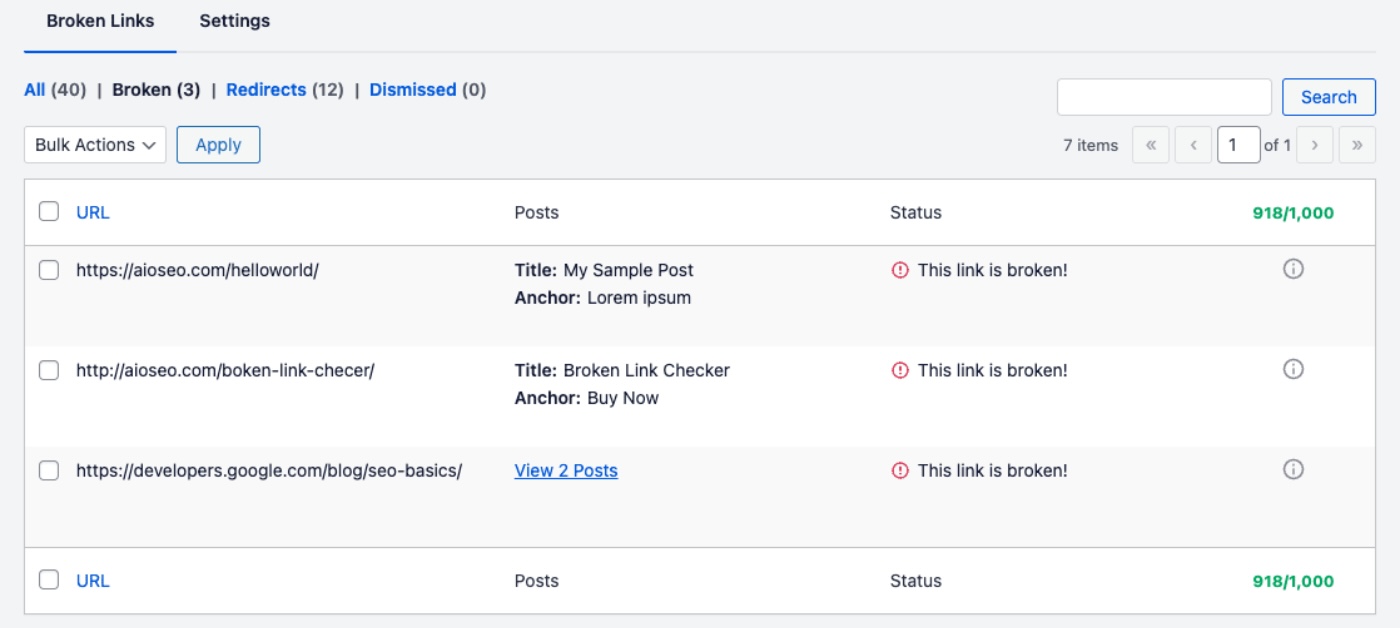
You'll see columns for URL, Post Title / Anchor, and Status.
- The URL column shows the URL of the broken link.
- The Posts column shows the Title of the post or page where the broken link is found and the Anchor text of the broken link.
- The Status column shows what the status of the broken link is.
- The last column shows how much of your link quota has been used this month.
You can hover over the URL or title / anchor to see actions that you can take.
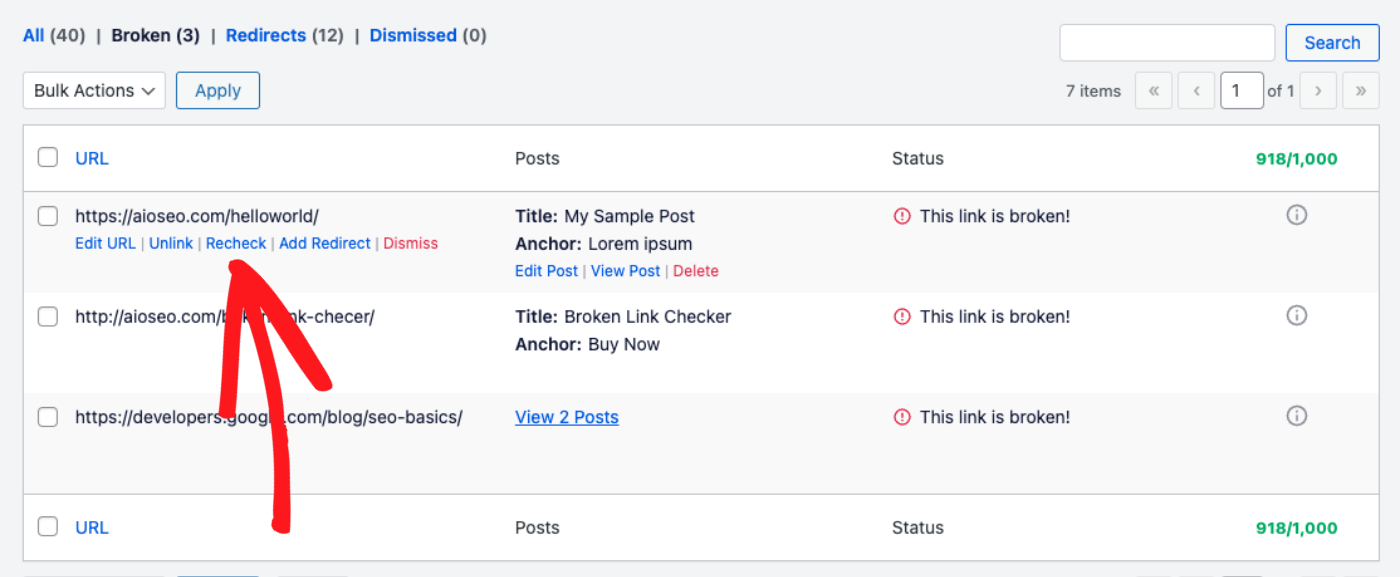
The actions you can take when hovering over the URL are:
- Edit URL – You can edit the URL of the broken link to set the correct URL.
- Unlink – You can remove the broken link from the text.
- Recheck – You can force a recheck of the broken link to see if it's fixed or not.
- Add Redirect – If you have All in One SEO installed with the Redirection feature enabled, then you can click Add Redirect to quickly and easily add a redirect for the broken link.
- Dismiss – You can dismiss and ignore the broken link.
The actions you can take when hovering over the Post Title / Anchor are:
- Edit Post – You can edit the post or page and make changes.
- View Post – You can view the post or page.
- Delete – You can delete the post or page.
Broken Link Checker will automatically rescan your links every three days looking for new broken links and images.
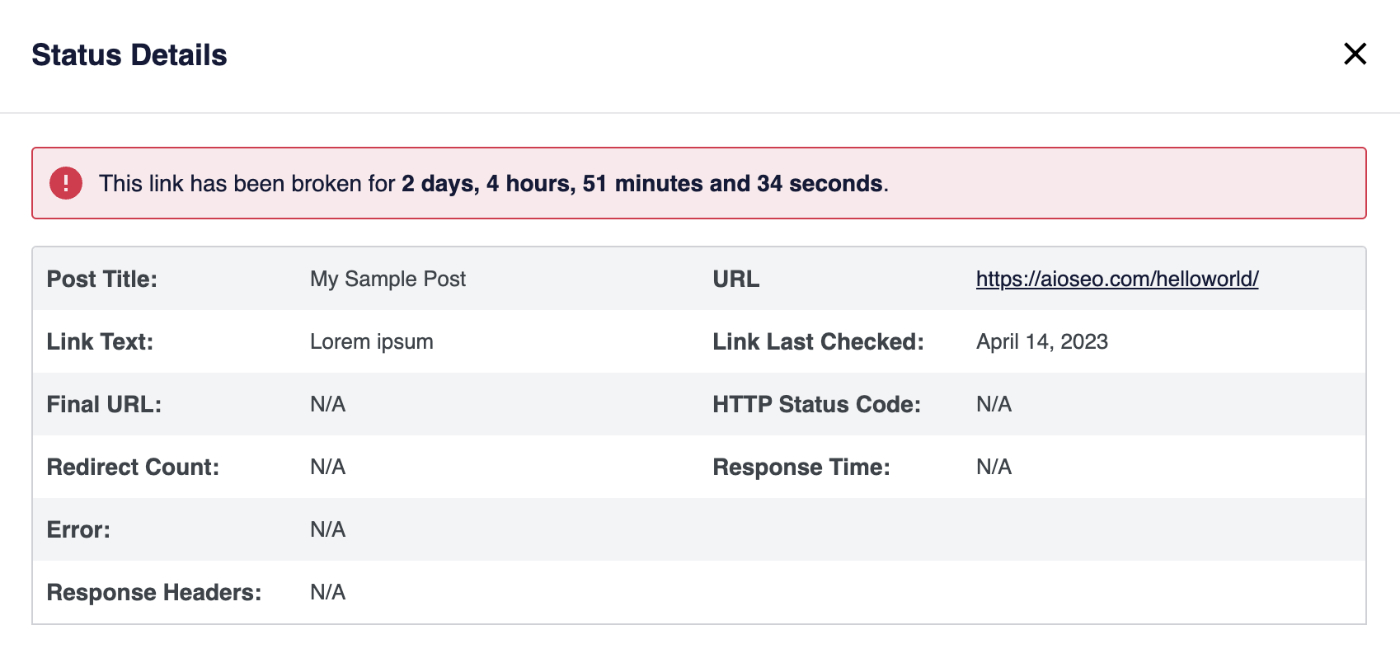
You can click on the Information icon in the right hand column to see a popup with more information about the broken link.
You'll also your current quota and usage to the right-hand side of the table as shown below:

Settings
There are a few options, which you can find on the Settings tab in Broken Link Checker.

The first option under Link Tweaks is to Stop search engines from following broken links.
This is a good option to use as it prevents search engines from following broken links and seeing a 404 Page Not Found error which they don't like.
Enabling this option will mean the rel="nofollow" tag is automatically added to any broken links.
The second option is Don't update the modified date for a page/post when a link is updated.
This is useful if you don't want search engines from seeing that your content was modified when you fix a broken link.
The third option is to Highlight Broken Links. If you enable this, then broken links will be displayed on the front end of your site with a wavy red line beneath the link. You'll only see this if you're logged into your site as an Editor or Administrator. Visitors won't see this.
Advanced Settings
If you click on the Advanced Settings toggle, you'll see some additional options.
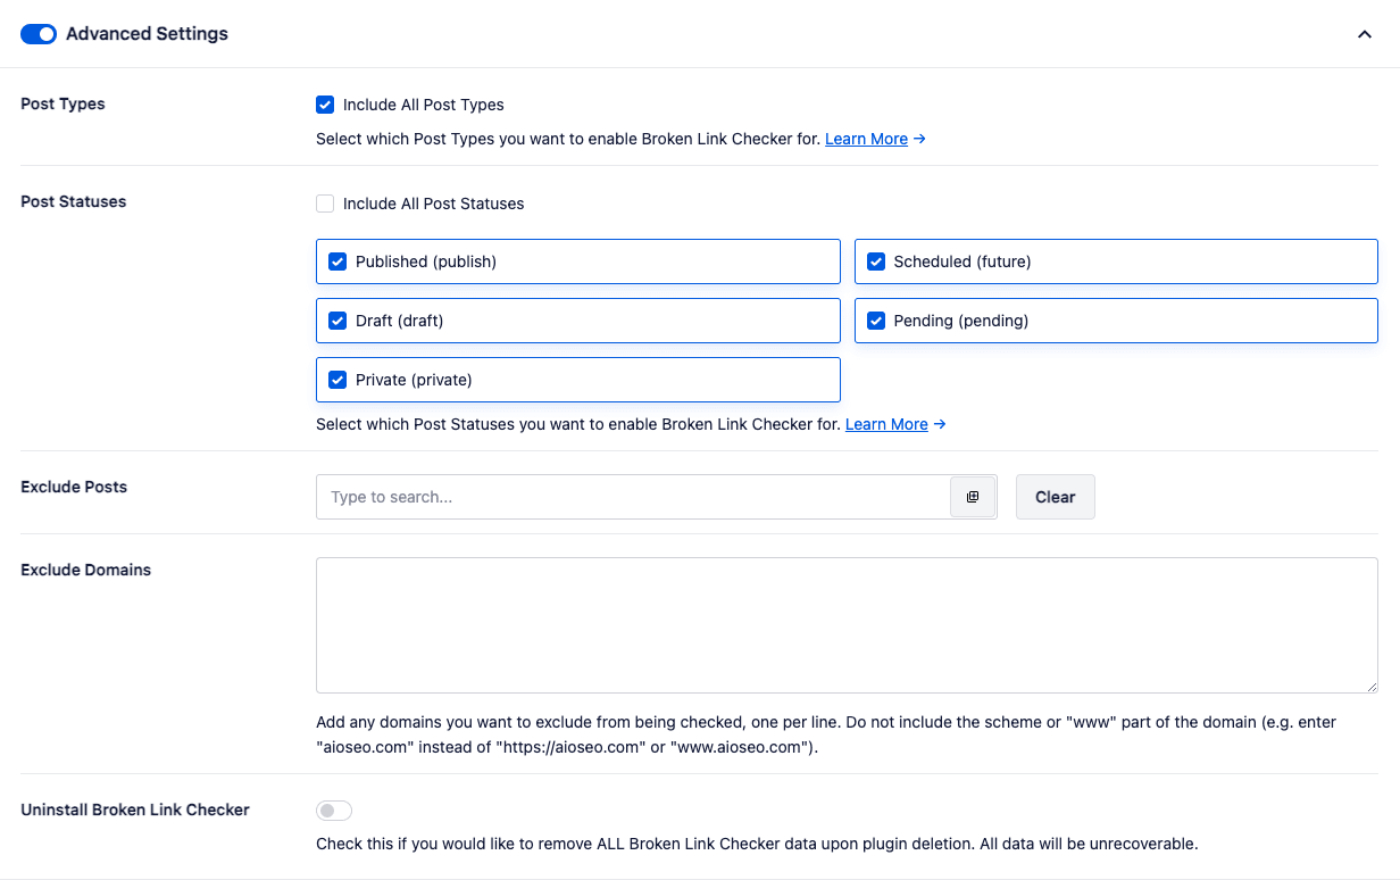
The first option is Post Types where you can select whether you want Broken Link Checker to scan for broken links and images in all post types or just some.
The second option is Post Statuses where you can select whether you want Broken Link Checker to scan for broken links and images in posts of any status or just some.
The third option is Exclude Posts where you can enter the name or post ID of any posts and pages that you don't want Broken Link Checker to scan.
The fourth option is Exclude Domains. Here you can enter any domains you want to exclude from being checked. Enter one domain per line without the “https” or “www” part of the domain. For example, facebook.com.
The final option is Uninstall Broken Link Checker where you can select to remove all data when you deactivate and delete the plugin on your site.