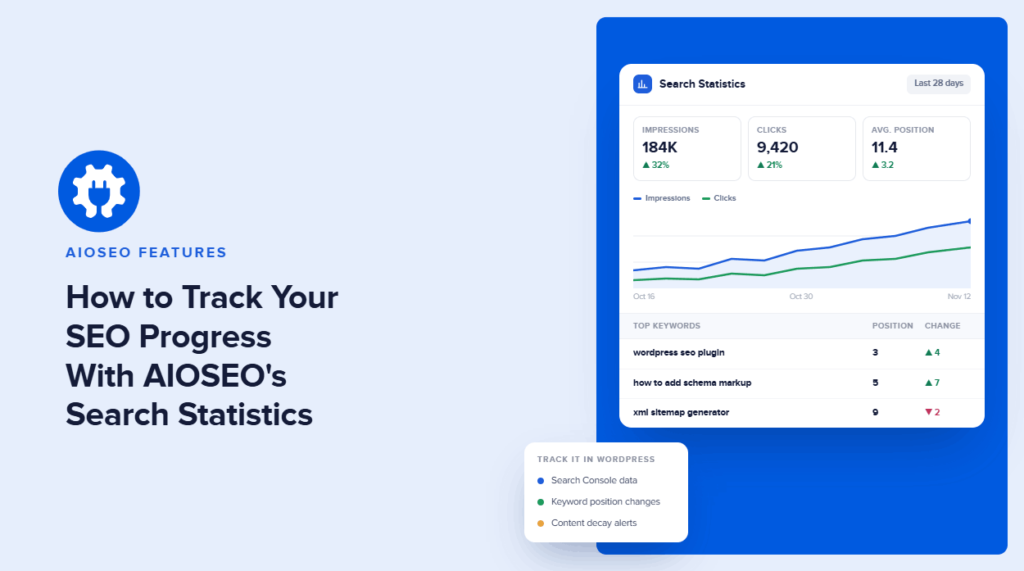

Have you ever opened Google Search Console, stared at the Performance report, and wondered which posts actually need your attention? That’s exactly why I use AIOSEO’s Search Statistics.
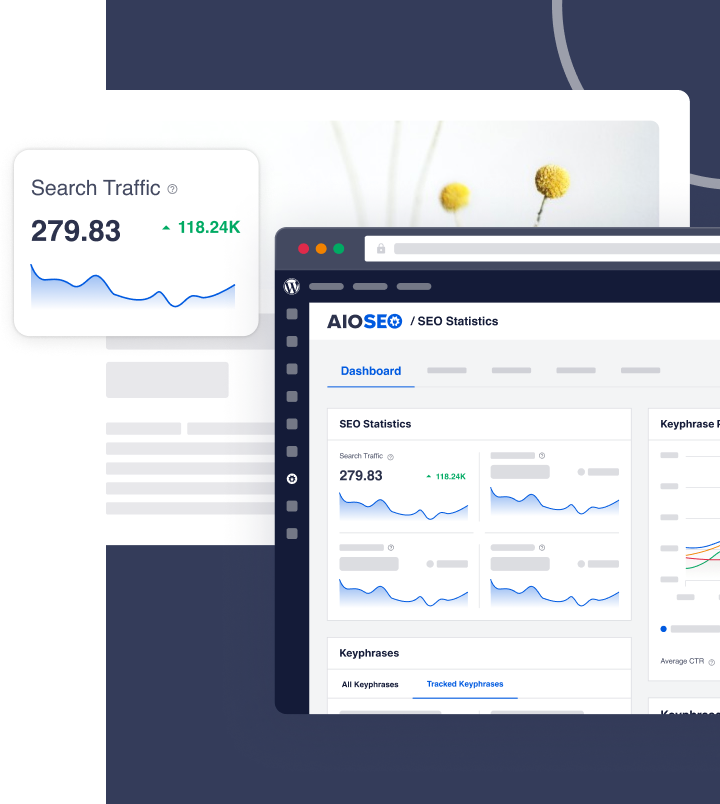
AIOSEO’s Search Statistics has been a game-changer! It pulls my Google Search Console (GSC) data into WordPress, so I can track keywords, catch dropping posts early, and jump straight into the editor to fix them.
In this AIOSEO’s Search Statistics tutorial, I’ll walk you through how I connect the feature and use every report, step by step.
Let’s start with a quick catch-up on what AIOSEO’s Search Statistics feature is.
What Is AIOSEO Search Statistics?
Search Statistics is AIOSEO’s built-in Google Search Console integration. It takes the data from your GSC Performance report and turns it into simple reports inside your WordPress dashboard.
What I like most is that every report links back to the content. When I see a post losing rankings, I’m 1 click away from editing it.
Here’s what you can use it for:
- Tracking impressions, clicks, click-through rate (CTR), and average position for the whole site
- Monitoring up to 100 keywords in the Keyword Rank Tracker
- Spotting content decay with the Content Rankings report
- Checking each post’s index status and TruSEO score in one place
- Getting my top winning and losing posts sent to my inbox
Before we start, make sure that you have the plugin installed and running. To follow along, you’ll need 3 things:
- An AIOSEO Elite license: Search Statistics is part of the Elite plan. If you’re on another plan, you can upgrade to AIOSEO Elite.
- Your site verified in Google Search Console: If you haven’t done this yet, follow our guide to set up Google Search Console on your site.
- The Google account you used to verify your site: If your site is already verified, connecting takes about a minute.
How to Connect Search Statistics to Google Search Console
Let’s start by linking AIOSEO to your GSC account. You only need to do this once.
Step 1: Open the Search Statistics Settings
First, go to All in One SEO » Search Statistics in your WordPress dashboard. Then, click the Settings tab at the top of the screen.
Step 2: Connect Your Google Account
Next, I click the Connect button, and Google opens a Choose an account screen.
I pick the Google account linked to my Search Console property. If yours isn’t listed, click Use another account and sign in.
Google then asks if AIOSEO can access my Search Console data, so I click Allow.
You don’t need to worry about privacy here. AIOSEO only reads statistics from your Performance report. It doesn’t access any sensitive or personal data in your account.
Step 3: Choose Your Site and Complete the Connection
Now I pick my site from the dropdown menu and click Complete Connection.
That takes me back to the Settings screen, where a notice says AIOSEO is fetching data from Google Search Console. This can take a little while, so it’s a good moment to grab a coffee.
Step 4: Choose Which Post Types to Include
While I’m on the Settings tab, I choose which post types Search Statistics should track. On a blog, I track posts and pages and skip things like attachments.
Tip: If your connection ever stops working, come back to this tab and click Reconnect.
How to Use the Search Statistics Dashboard
Once my data is in, I go to All in One SEO » Search Statistics and click the Dashboard tab. This is my quick overview of how the site is doing on Google.
Here, I see 5 widgets:
- SEO Statistics: Sitewide impressions, clicks, CTR, and position
- Keyword Positions: Where my keywords rank on average
- Keyword Rankings: My top keywords and the ones that moved the most
- Post Optimizations: A summary of TruSEO scores across my content
- Content Performance: My top pages, plus the posts that gained or lost the most
Each widget has an Open Report link that takes me to the full report.
Reading the SEO Statistics Widget
This widget shows my sitewide Search Impressions, Total Clicks, Average CTR, and Average Position for the date range I pick. Each number also shows whether it went up or down.
I hover over the graph to see the numbers for any single day.
Next step: When impressions are rising but clicks aren’t, I take it as a sign that some titles and descriptions need work. I click Open Report on the Content Performance widget to find which posts are affected.
Changing the Date Range
By default, the dashboard shows the last 7 days, ending yesterday. To change it, I click the date range in the top-right corner and pick a new period. Every report in Search Statistics updates to match.
You won’t see today’s data. That’s normal, because Google Search Console is still recording it.
How to Use the SEO Statistics Report
Next, I open All in One SEO » Search Statistics » SEO Statistics. This tab gives me a bigger version of the dashboard graph, plus the full Content Performance table.
Reading the Timeline and Google Update Markers
I click the labels under the graph to show or hide each metric. Then I hover over any point to see that day’s numbers.
Along the bottom of the graph, there are small Google icons. Each one marks a change Google made that may affect rankings. When I click an icon, I see what changed, along with a Read More button that opens Google’s changelog.
This means I don’t have to guess why traffic dipped. I can see right on the graph if a Google update lines up with the drop.
Next step: If traffic dropped right after a Google icon, I scroll down to the Content Performance table to see which posts took the hit.
Using the Content Performance Table
The Content Performance table shows 10 posts per page, and I can search it by title.
For each post, I see its TruSEO score, index status, clicks, impressions, position, and the Diff column. Diff shows how much that post’s position changed during my date range. Hovering over the green or red number explains what the change means.
I click the Top Losing tab first to see the posts that dropped the most. Then I check Top Winning to see what’s working.
Next step: I hover over a losing post’s title and click Edit to open it in the editor. I go from spotting a problem to fixing it in 1 click, with no copying URLs between tabs.
How to Use the Keyword Rank Tracker
Then I head to All in One SEO » Search Statistics » Keyword Rank Tracker. This is where I choose which keywords to watch closely.
Adding Keywords
I start by clicking the Add Keywords button. There are 4 ways to add keywords:
- Manually: Type them into the Enter Your Keywords box, 1 per line.
- Focus Keywords: Click Focus Keywords to pick from the focus keyphrases already set on your posts.
- CSV: Click CSV to upload a list in bulk. You can download a sample file to get the format right.
- Google Search Console: Click Google Search Console to import keywords your site already shows up for.
I select the keywords I want, click Import, and then click Add Keywords to finish.
The tracker scans up to 100 keywords at a time, so I start with the keywords tied to my most important posts. If you’re not sure which ones to pick, our guide on how to use a keyword ranking tool can help.
Creating Keyword Groups
Groups let me track keywords by topic. For example, if I ran a food blog, I’d create one group for breakfast recipes and another for meal prep.
To set one up, I click the Groups tab, then Create Group. I name the group, pick keywords from the dropdown, and click Create Group again.
To add more keywords later, I go to the Keywords tab and check the boxes next to them. Then I choose Add to Group, click Apply, and pick the group.
I also click the star icon next to my most important keywords. This adds them to a Star group of favorites, so they’re always 1 click away.
Reading Positions and Related Keywords
At the top of the Rank Tracker, I see Total Keywords, Search Impressions, Clicks, and Avg. CTR for the keywords I track. Below that, a graph shows how my keywords are spread across ranking positions.
When I scroll down, I see stats for each keyword. I click a keyword to expand it and see related keywords with their own numbers. Then I click the Keyword Ranking Pages tab to see which of my posts rank for it.
Next step: When I find a related keyword I’m not tracking, I hover over it and click Add Keyword. And if 2 of my posts rank for the same keyword, I consider merging them or giving each one a clearer focus.
Viewing All Keywords
I click All Keywords to see every keyword the site ranks for, not just the ones I track. The Keyword Performance table here has its own Top Winning and Top Losing tabs. Clicking any keyword shows which pages rank for it.
How to Use the Content Rankings Report
Next, I go to All in One SEO » Search Statistics » Content Rankings. This report covers the last 12 months, which makes it the best place to spot content decay. Content decay is when a post slowly loses rankings and traffic over time.
Decay is easy to miss because it happens slowly. Content Rankings flags it for me, so I can update a post before most of its traffic is gone.
Reading the Content Rankings Columns
Here’s what each column tells me:
- TruSEO Score: How well the post is optimized, based on AIOSEO’s TruSEO analysis
- Indexed: Whether Google has indexed the post
- Last Updated On: When the post was last edited, so I can match ranking changes to my updates
- Loss: How many points the post dropped last month compared to its all-time high. AIOSEO calculates this from impressions, CTR, and other signals.
- Drop (%): The same drop or gain, shown as a percentage
- Performance Score: A 12-month graph of the post’s performance. A Slowly Recovering label means the drop is under 25% and points have gone up for 4 months in a row.
Filtering by Post Type
I use the post type filter at the top of the report and set it to Posts. This hides pages and other content types, so I only see blog posts.
Next step: I look for posts with the biggest numbers in the Loss and Drop (%) columns. Those are my best candidates for an update. For the full process, see our guide on how to do a content audit.
How to View Search Statistics for a Single Post
When I want the full story on 1 post, I click its title in the Content Performance, Keyword Performance, or Content Rankings table.
That opens a detailed report for the post, including:
- Its TruSEO score and Headline Analysis score
- A page speed test
- A links report from Link Assistant
- Its Google indexing status
- Its SEO title, meta description, and any redirects
- Its SEO performance over time
- A Keywords table showing what the post ranks for
Next step: I look in the Keywords table for terms where the post sits on page 2. Adding a section that answers those searches is one of the quickest ways I know to push a post onto page 1.
How to Get Search Statistics Reports by Email
I don’t want to log in every time I check my numbers, so I have AIOSEO email them to me.
To set this up, I go to All in One SEO » General Settings and click the Advanced tab. Then I scroll down to Email Summaries and turn on the toggle.
Next, I add the email addresses that should get the report and choose how often each person gets it. This is handy if you share results with a team or clients.
Since Search Statistics is connected, the email includes an SEO Report section. It shows the top winning and top losing posts and keywords. You can learn more in our guide to automated SEO reports.
Frequently Asked Questions About AIOSEO Search Statistics
Is Search Statistics included in all AIOSEO plans?
No. Search Statistics is only available on the Elite plan, which covers up to 100 sites.
Where does Search Statistics get its data?
It pulls data straight from the Performance report in your Google Search Console account. You see the same numbers Google tracks for your site, not third-party estimates.
How many keywords can I track?
The Keyword Rank Tracker scans up to 100 keywords at a time. You can still see every keyword your site ranks for in the All Keywords view.
Why can’t I see today’s data?
Google Search Console is still recording today’s numbers. That’s why the default date range ends yesterday.
How long does the first data sync take?
It depends on how much data your site has. You’ll see a notice on the Settings tab while AIOSEO fetches it. Once it’s done, your reports fill in automatically.
Start Using Search Statistics Today
I hope this AIOSEO Search Statistics tutorial helped you learn how to track your rankings and catch slipping content right inside WordPress.
Next, check out our Search Statistics power hacks to get even more from your data. You may also like our simple guide to SEO analytics.
Not on Elite yet? Upgrading unlocks Search Statistics, including content decay tracking, the Keyword Rank Tracker, and SEO email reports, for up to 100 sites. Upgrade to AIOSEO Elite and see exactly which posts need your attention next.
If you found this article helpful, please subscribe to our YouTube Channel. You can also follow us on X and Facebook to stay in the loop.
Disclosure: Our content is reader-supported. This means if you click on some of our links, then we may earn a commission. We only recommend products that we believe will add value to our readers.
Want to Try AIOSEO for Free?
Enter the URL of your WordPress website to install AIOSEO Lite.